


NE-4100 Series User’s Manual Web Console Configuration
6-3
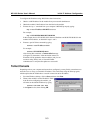
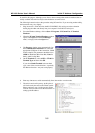
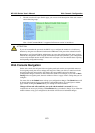
3. The web console will open. On this page, you can see a brief description of the web console’s
eleven function groups.
Note: “Serial Command Mode” is supported in firmware version 3.0 and above.
ATTENTION
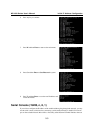
If you can’t remember the password, the ONLY way to configure the module is to load factory
defaults by using the reset button located near the DB9 male serial port on the evaluation board.
Remember to use Network Enabler Administrator to export the configuration file when you have
finished the configuration. After using the reset button to load factory defaults, your configuration
can be easily reloaded into the module. Please refer to
Chapter 7 for more details about exporting
and importing configuration settings.
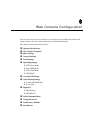
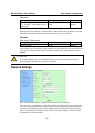
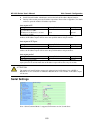
Web Console Navigation
On the web console, the left panel is the navigation panel and contains an expandable menu tree
for navigating among the various settings and categories. When you click on a menu item in the
navigation panel, the main window will display the corresponding options for that item.
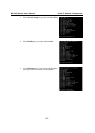
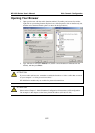
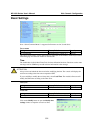
Configuration changes can then be made in the main window. For example, if you click on Basic
Settings in the navigation panel, the main window will show a page of basic settings that you can
configure.
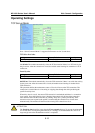
You must click on the Submit button to keep your configuration changes. The Submit button will
be located at the bottom of every page that has configurable settings. If you navigate to another
page without clicking the Submit button, your settings will not be retained.
Changes will not take effect until they are saved and the module is restarted! You may
complete this in one step by clicking on Save/Restart after you submit a change. If you restart the
module without saving your configuration, the module will discard all submitted changes.