Руководство по быстрому началу работы SmartStor NS2300N
102
Шаг 6. Настройка устройства SmartStor
SmartNAVI выполняет процедуры настройки на устройстве SmartStor. После
выполнения данной процедуры на устройстве SmartStor появится папка по
умолчанию, настроенная на компьютере как сетевой диск.
После первоначальной установки с помощью SmartNAVI Вы можете
изменять сетевые настройки, создавать тома RAID, добавлять и создавать
папки на Вашем SmartStor. Вы также можете произвести расширенные
настройки с помощью программы PASM. См. раздел «Шаг 7. Подключение к
PASM» на стр. 106.
Настройка устройства SmartStor.
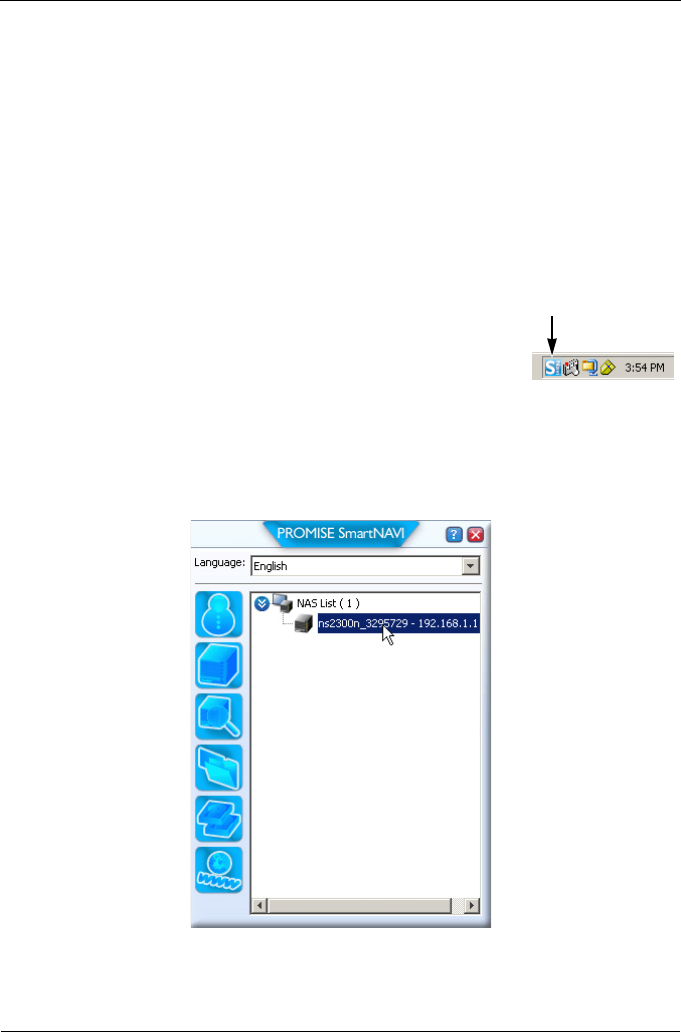
1. Щелкните правой кнопкой мыши на значке
SmartNAVI
на панели задач приложения Windows (в
нижнем правом углу экрана).
2. В контекстном меню выберите
Open SmartNAVI
(Открыть SmartNAVI).
Откроется окно MSN .
3. Дополнительно. В раскрывающемся меню Language (Язык) выберите
нужный язык.
4. Дважды щелкните значок NS2300N в списке NAS.
Откроется окно входа в систему.
значок SmartNAVI


