


I
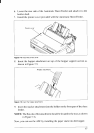
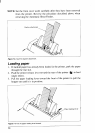
Lock lever
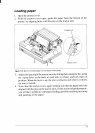
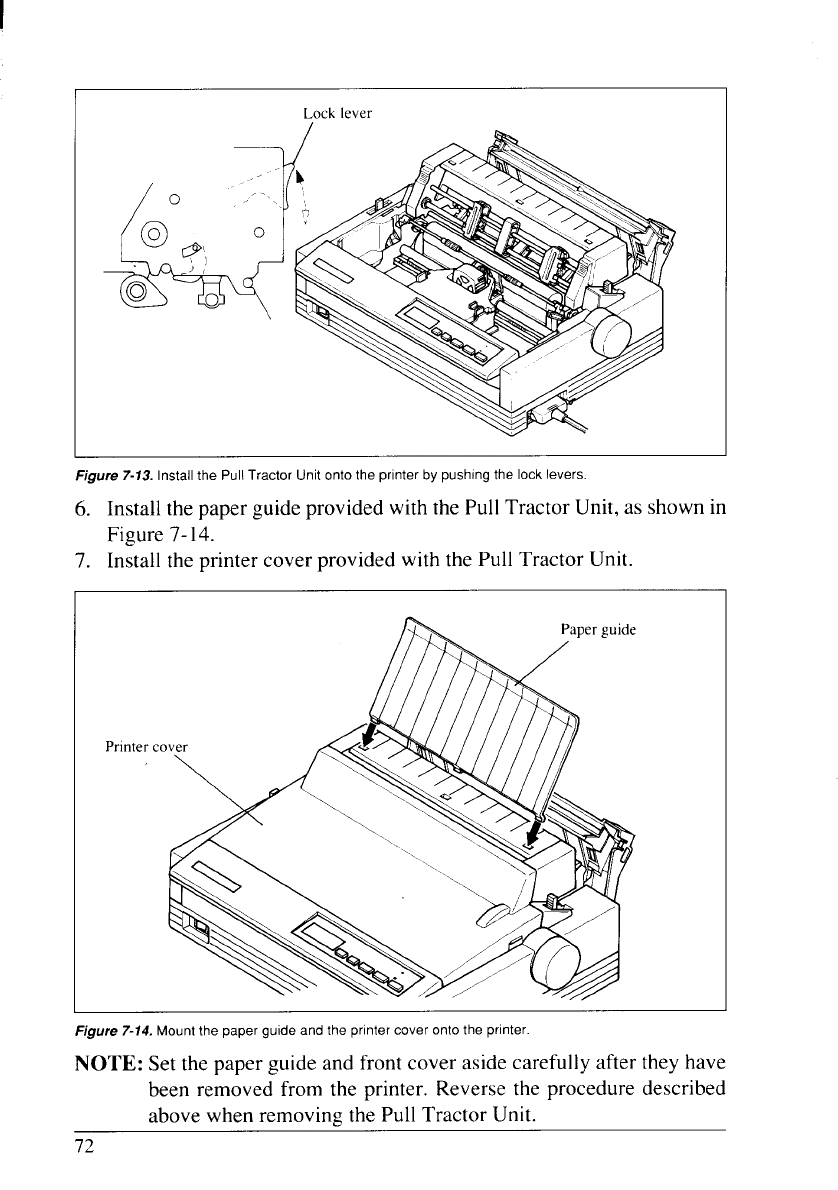
Figure 7-13. Installthe PullTractor Unit onto the printer by pushing the lock levers.
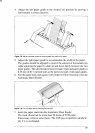
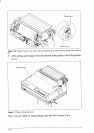
6. Install the paper guide provided with the Pull Tractor Unit, as shown in
Figure 7-14.
7. Install the printer cover provided with the Pull Tractor Unit.
Printer co
Figure 7-14. Mount the paper guide and the printer cover onto the printer.
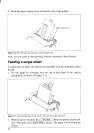
NOTE: Set the paper guide and front cover aside carefully after they have
been removed from the printer. Reverse the procedure described
above when removing the Pull Tractor Unit.
72