Chapter 2 System Setup 33
About Communicating With the System
To install your server software or to diagnose problems, you need some way to enter
system commands and view system console output. There are three ways to do this.
1. Attach an alphanumeric American Standard Code for Information Interchange
(ASCII) character terminal to serial port A.
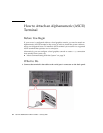
You can attach a simple terminal to serial port A. The terminal is capable of
displaying and entering alphanumeric but not graphical data. For instructions,
see “How to Attach an Alphanumeric (ASCII) Terminal” on page 34.
2. Establish a tip connection from another Sun system.
For information about establishing a tip connection, see “How to Set Up a tip
Connection” on page 183 or use the appendix in the OpenBoot 4.x Command
Reference Manual, an online version of which is included with the Solaris System
Administrator AnswerBook that ships with Solaris software.
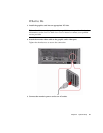
3. Install a local graphics console on your server.
The server is shipped without a mouse, keyboard, monitor, or frame buffer for the
display of graphics. To install a local graphics console on a server, you must
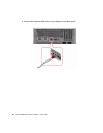
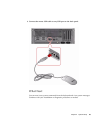
install a graphics frame buffer card into a PCI slot, and attach a monitor, mouse,
and keyboard to the appropriate back panel ports. After starting the system you
must install the correct software driver for the card you have installed. For
detailed hardware instructions, see “How to Configure a Local Graphics Console”
on page 36.
You may only use the RSC connections (modem or network) after installing the
operating environment software and the RSC software. You can then access RSC
software from a workstation running the Solaris, Windows 95, Windows 98, or
Windows NT operating environment and Sun’s RSC Java application, or from an
ASCII terminal or device running ASCII terminal emulation software. See “About
the Remote System Control (RSC) Card and Ports” on page 107 for more
information.


