


114
5.USING THE EDITING FUNCTIONS
7.IMAGE EDITING (Cont.)
5
4
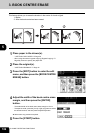
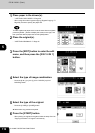
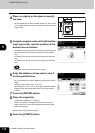
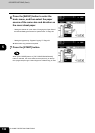
Place an original on the glass to specify
the area.
- Set the original face up with the bottom toward you, fit its top left
corner against the top left corner of the glass, and align it with the
original scale.
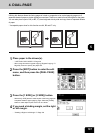
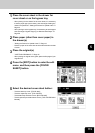
5
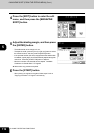
Using the original scale on the left and the
inner (top) scale, read the position of the
desired area as follows:
- X1 Distance from the top left to the left edge of the specified area.
- X2 Distance from the top left to the right edge of the specified
area.
- Y1 Distance from the top left to the upper edge of the specified
area.
- Y2 Distance from the top left to the lower edge of the specified
area.
4 rectangular areas can be specified on an original.
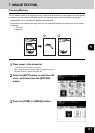
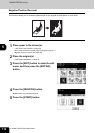
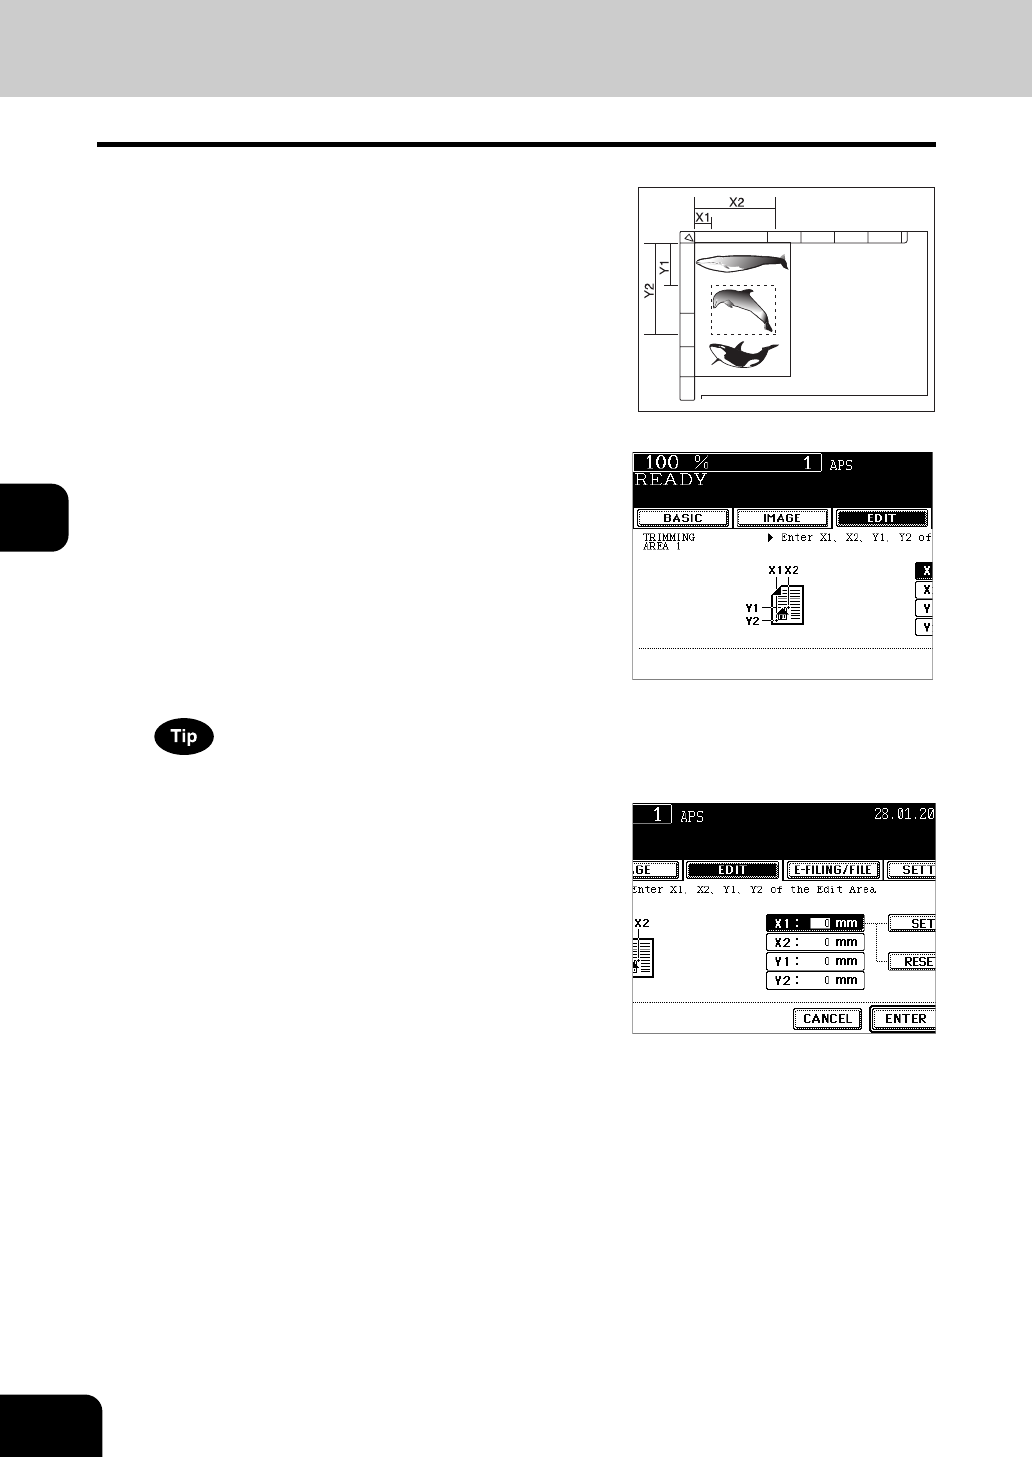
6
Enter the distance values read in step 5
for the specified area.
- Key in the value for X1 with the digital keys and press the [SET]
button.
- Similarly, set the values for X2, Y1 and Y2.
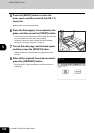
- When setting X1, X2, Y1 and Y2, the original scale automatically
changes to the next original scale. Set the next original scale
similarly.
7
Press the [ENTER] button.
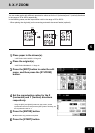
8
Place the original(s).
- "2.SETTING ORIGINALS" Page 45
- Place the original(s) on the glass with its face down, with its
bottom toward you, with its top left aligned against the original
scale on the left side.
z Select other copy modes as required.
9
Press the [START] button.