22
Windows 95/98/Me
The procedure here describes an installation on Windows 98. The procedures are the same when
other versions of Windows is used.
: When the PS3 Scan & HDD Upgrade (GE-1060+GE-1110) is installed on your GA-1140
printer, a printer driver, which is selected for the SMB Printing option in the TopAccess, is
automatically installed by following the procedure here. If you want to install another printer
driver for SMB printing, right-click the queue and select [Install] to install another printer driver.
When you install both printer drivers by this method, change the emulation of the printer driver
for printing by right-clicking the printer icon in the Printers folder and select [Properties], then
select the desired printer driver in the “Print using the following driver” menu in the Details tab.
1
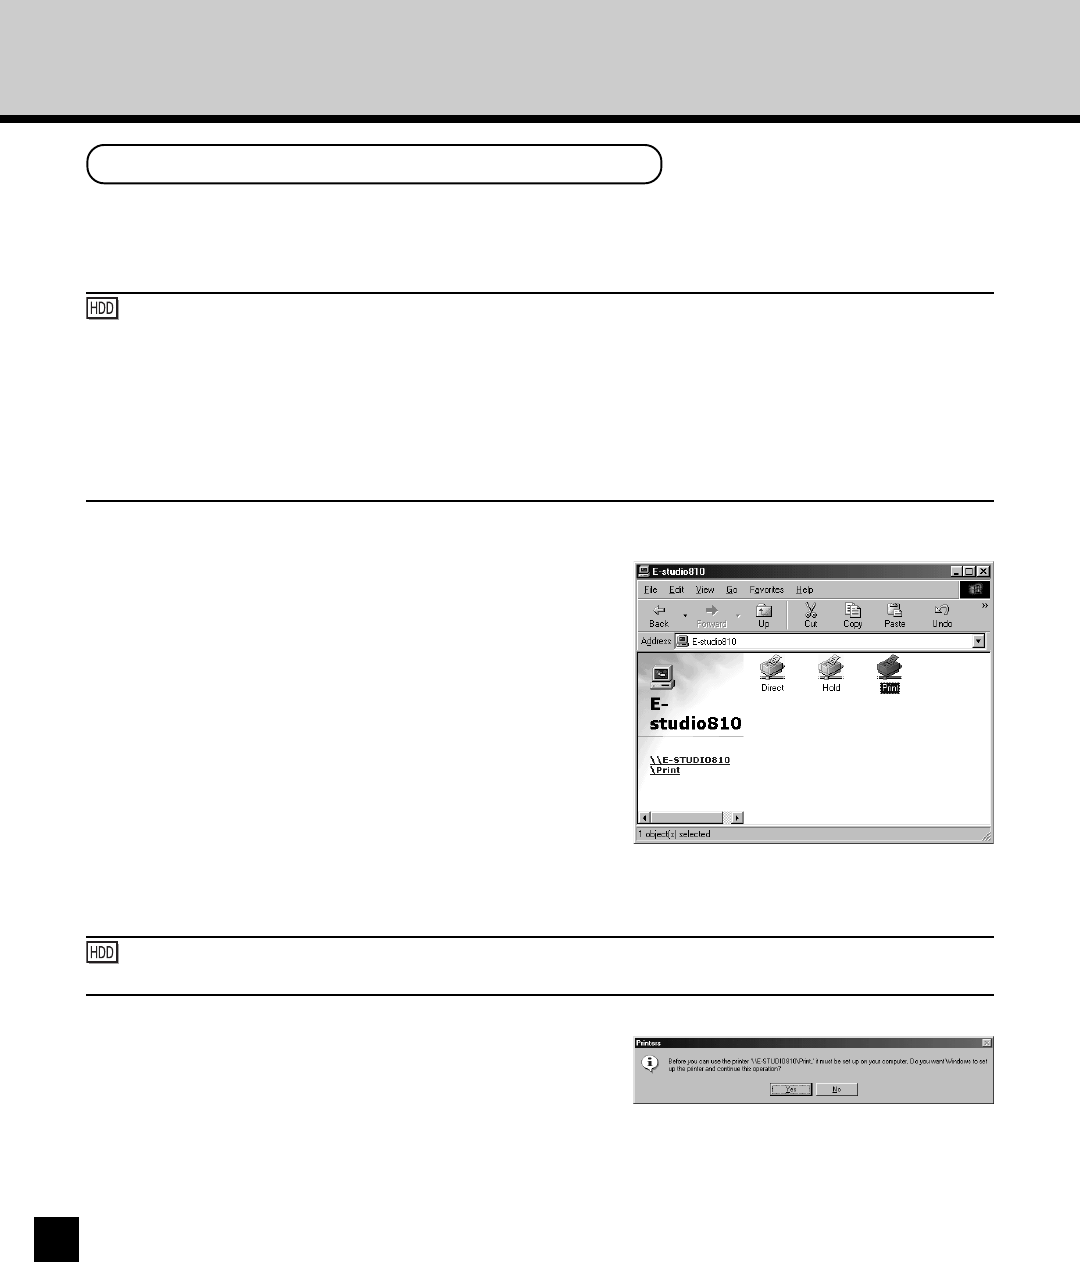
Open the GA-1140 printer in the Network
Neighborhood with the Windows Explorer, and
double-click on a queue.
• Select a queue depending on how you want to print.
Direct - print jobs are sent straight to the printer
without spooling.
Hold - print jobs are held until users operate copying
or moving them to the Print queue with the job
management tools.
Print - print jobs are spooled to the hard disk in the
GA-1140 printer and printed out. Use this queue for
general printing.
• The Printers dialog box appears.
2
Click on [Yes].
• When installing to Windows 95, Windows 98, or
Windows Me, the Add Printer Wizard dialog box
appears. Continue to next step.
: The Hold queue and Print queue are only available when the PS3 Scan & HDD Upgrade (GE-
1060+GE-1110) is installed.


