4-29
4
2
Place the original.
• For details on how to place the originals on the glass.
(
See page 2-8.)
This function attaches a cover sheet to the document to be transmitted or prints the cover sheet for
confirmation purposes.
• When sending multi-address transmissions, the cover sheet will be attached to the document for every
address.
• TTI (Transmit Terminal ID) will not be printed on the cover sheet.
• Smart Batch is not available if this function is used.
• When resending a document due to an error, the cover sheet is again attached to the retransmission.
• In Transmission Reports and Journals, the number of pages of each transmission does not include the
cover sheet.
• When a Transmission Report is issued with the document image output, the first page data of the
facsimile will be printed but not the cover page data.
• The cover sheet is always sent in Letter (A4) size.
• The resolution for the cover sheet is fixed to FINE. However, if the receiving unit is set to STD, the
cover sheet is sent in STD.
3
Set the scanning conditions. ( See pages 2-10 to
2-15.)
4
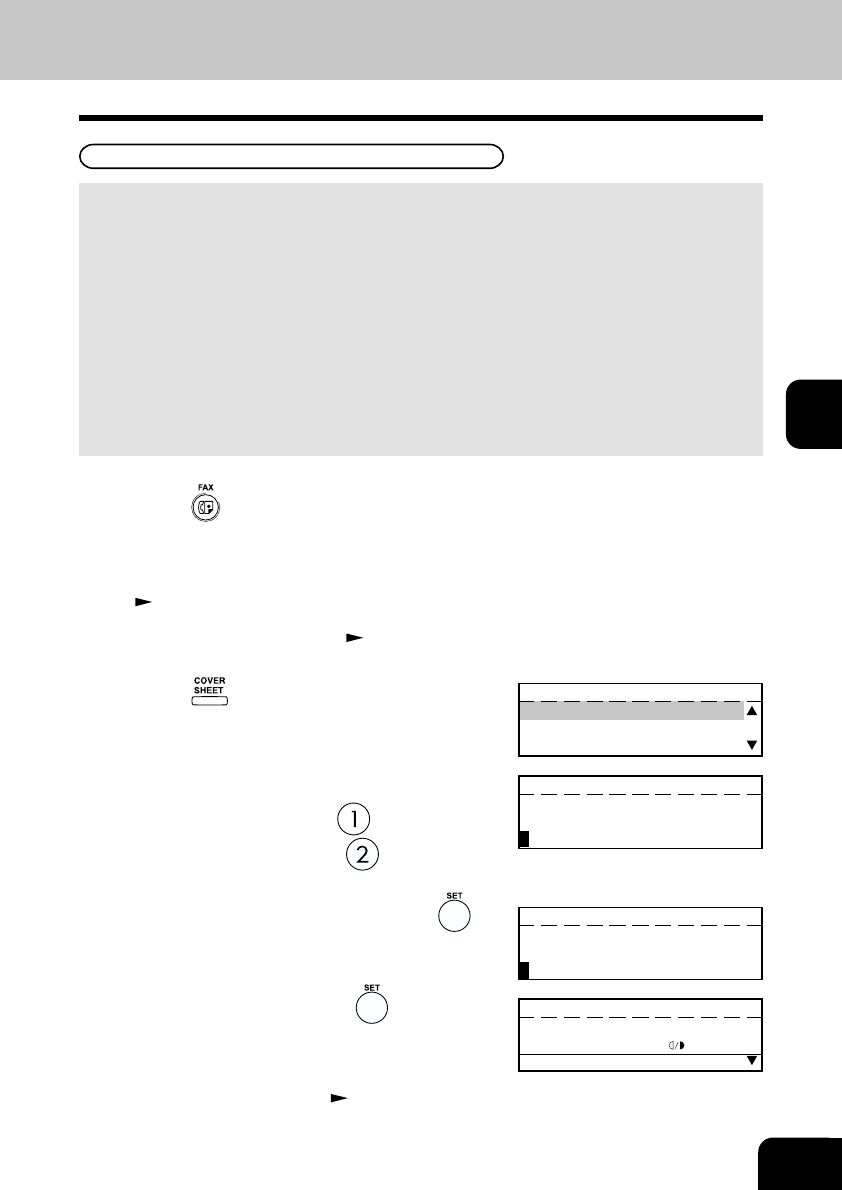
Press the key (on the Function key panel).
5
Select the option.
• To attach the cover sheet, press .
• To print the cover sheet, press
. When printing is
completed, the display returns to the Standby Mode.
6
Enter the Remote FAX Name and press the key.
7
Enter your name and press the key.
8
Specify the remote FAX. ( See pages 2-16 to
2-21.)
COVER SHEET
1.TRANSMIT
2.PRINT
COVER SHEET
ENTER REMOTE NAME
COVER SHEET
ENTER YOUR NAME
ENTER TEL NUMBER(MAX128):
FEB25-2001 11:30AM M :100%
RESOLUTION:STANDARD
:AUTO
COMM.OPTION
1
Press the key.
Attaching or Printing Cover Sheet
