


2
2-24
BASIC OPERATION
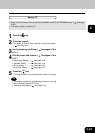
Direct TX by Default Setting
9. SENDING ORIGINALS (DIRECT TX)
• When you have placed the originals and performed the sending operation, the remote FAX is
immediately dialed, and originals are sent after connecting with the remote FAX with each page scanned
separately.
• You can check immediately if the original has been sent to the remote FAX.
• Once scanned, originals are not stored in the memory.
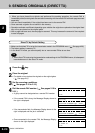
• Operation methods are different depending upon whether the originals are placed on the original feed
tray or they are placed on the original glass.
• After a page has been sent, the next page is scanned. This may increase the amount of time required
to scan all pages.
2
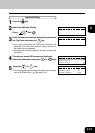
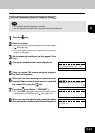
Place the original.
• For details on how to place the originals on the original glass.
(
See page 2-8.)
3
Set the scanning conditions.
(
See pages 2-10 to 2-15.)
4
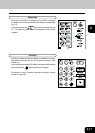
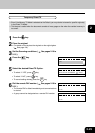
Dial the remote FAX number. ( See pages 2-16 to
2-21.)
• A group cannot be designated as a remote FAX number.
• Make sure that direct TX is set as the transmission mode in the PROGRAM menu. ( See page 4-26.)
• The factory setting is memory TX.
• In the direct TX mode, you cannot specify two or more remote FAXes at one time.
Tip
• When direct TX is set using the transmission mode settings in the PROGRAM menu, all subsequent
transmissions are in the direct TX mode.
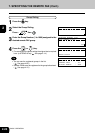
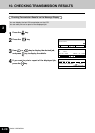
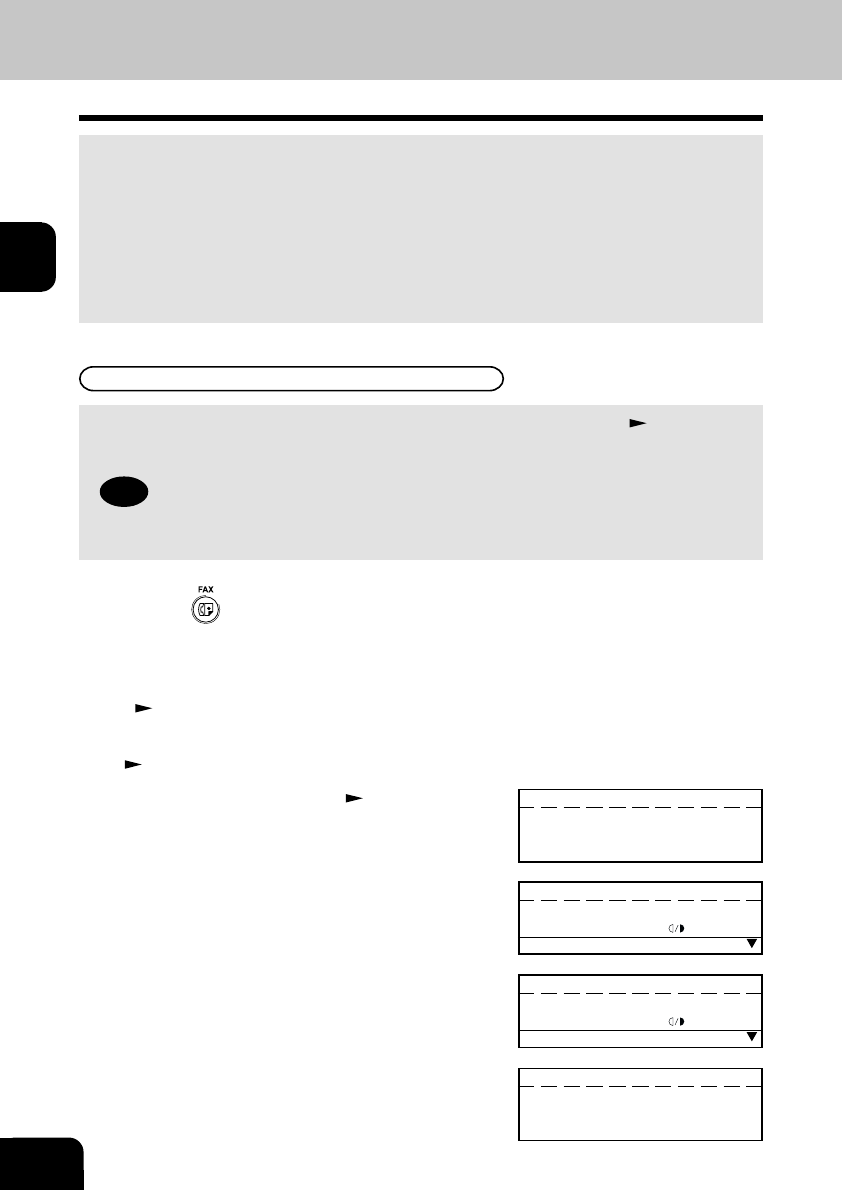
• Once connected to the remote FAX, the Message Display
shown to the right displayed.
• If the transmission fails, the Message Display shown to the
right is displayed and the job is cancelled.
• If the remote FAX is busy, the Message Display shown to
the right is displayed.
Line busy
FEB25-2001 11:30AM M :100%
RESOLUTION:STANDARD
:AUTO
COMM.OPTION
Communication error
FEB25-2001 11:30AM M :100%
RESOLUTION:STANDARD
:AUTO
COMM.OPTION
DIALING
JOB NUMBER : XXX
12345
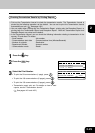
TRANSMIT P001
JOB NUMBER : XXX
EC SUPER G3
12345
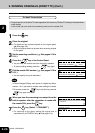
1
Press the key.