


Printer Setup
Connect the Printer to a Power Source
13163L Rev. 3 5/20/2004 Z4Mplus/Z6Mplus User Guide 11
Connect the Printer to a Power Source
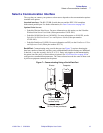
To connect the printer to a power source, complete these steps:
1. Turn the printer power switch (located on the rear of the printer) to the Off (O) position.
2. Plug the power cord into the mating connector on the rear of the printer.
3. Plug the other end of the power cord into the power source.
Power Cord Specifications
Depending on how your printer was ordered, a power cord may or may not be included. The
power cord used must meet your local electrical requirements. If a power cord is not included
or if the one included is not suitable for your requirements, refer to the following guidelines.
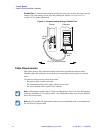
Your power cord must meet these standards:
• The overall length must be less than 9.8 ft. (3.0 m).
• It must be rated for at least 5A, 250 VAC.
• The chassis ground (earth) must be connected to ensure safety and reduce electromagnetic
interference. The ground connection is handled by the third wire (earth) in the power cord
as shown in Figure 5.
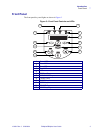
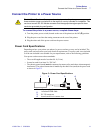
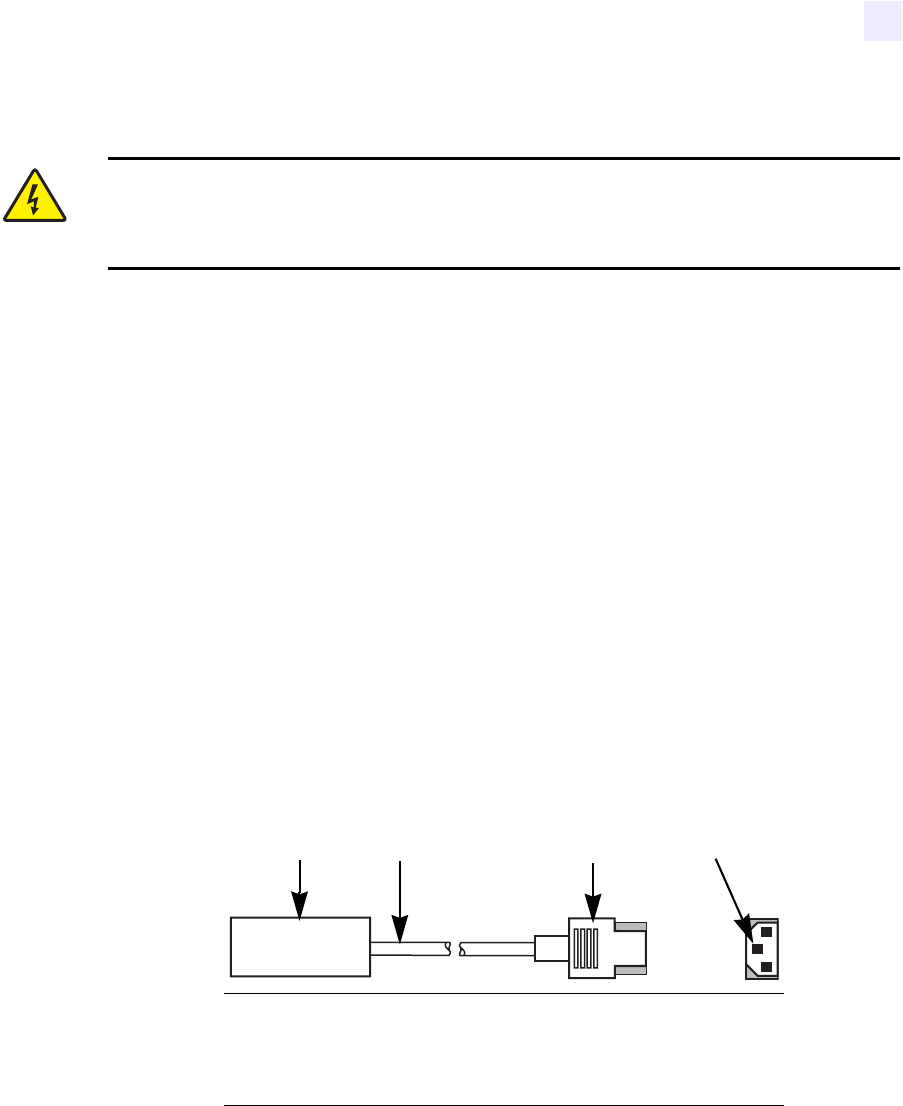
Figure 5 • Power Cord Specifications
Electric Shock Caution • For personnel and equipment safety, always use an approved
three-conductor power cord specific to the region or country intended for installation. This
cord must use an IEC 320 female connector and the appropriate region-specific three-
conductor grounded plug configuration.
1
AC power plug for your country
2
3-conductor HAR cable
3
IEC 320 connector
4
Neutral earth live in contact view
1 2 3 4