Configuration
Configuration and Calibration LCD Displays
13163L Rev. 3 5/20/2004 Z4Mplus/Z6Mplus User Guide 65
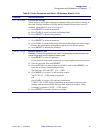
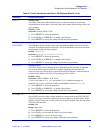
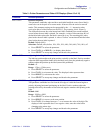
PARITY
Setting Parity
The parity of the printer must match the parity of the host computer for accurate
communications to take place. Select the parity that matches the one being used by the
host computer.
Default: NONE
Selections: NONE, ODD, EVEN
1. Press SELECT to select the parameter.
2. Press PLUS (+) or MINUS (–) to display other choices.
3. Press SELECT to accept any changes and deselect the parameter.
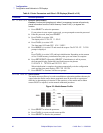
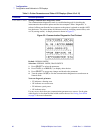
HOST
HANDSHAKE
Setting Host Handshake
The handshake protocol of the printer must match the handshake protocol of the host
computer for communications to take place. Select the handshake protocol that matches
the one being used by the host computer.
Default:
XON/XOFF
Selections: XON/XOFF, DSR/DTR, RTS/CTS
1. Press SELECT to select the parameter.
2. Press PLUS (+) or MINUS (–) to display other choices.
3. Press SELECT to accept any changes and deselect the parameter.
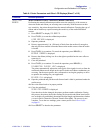
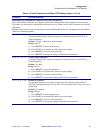
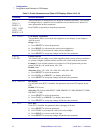
PROTOCOL
Setting Protocol
Protocol is a type of error checking system. Depending on the selection, an indicator
may be sent from the printer to the host computer signifying that data has been
received. Select the protocol that is requested by the host computer. Further details on
protocol can be found in the ZPL II Programming Guide Volume I.
Default: NONE
Selections: NONE, ZEBRA, ACK_NAK
ZEBRA is the same as ACK_NAK except that ZEBRA response messages are
sequenced. If
ZEBRA is selected, set the host handshake protocol to DSR/DTR.
1. Press SELECT to select the parameter.
2. Press PLUS (+) or MINUS (–) to display other choices.
3. Press SELECT to accept any changes and deselect the parameter.
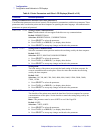
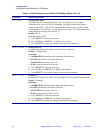
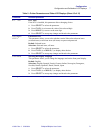
NETWORK ID
Setting Network ID
Network ID is used to assign a unique number to a printer used in an RS-422/RS-485
network, which gives the host computer the means to address a specific printer. If the
printer is used in a network, you must select a network ID number. This does not affect
TCP/IP or IPX networks.
Default: 000
Range: 000 to 999
1. Press SELECT to select the parameter.
2. Press PLUS (+) to increase the value of the selected digit.
3. Press MINUS (–) to move to the next digit.
4. Press SELECT to accept any changes and deselect the parameter.
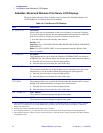
Table 9 • Printer Parameters and Other LCD Displays (Sheet 9 of 15)
Parameter Action/Explanation


