Configuration
Basic Configuration
13163L Rev. 3 5/20/2004 Z4Mplus/Z6Mplus User Guide 53
Basic Configuration
If your labels are not printing correctly, the configuration may need to be changed because the
printer defaults may not reflect the options that you need. Media, ribbon, darkness, print mode,
media type, sensor type, and print method all affect the way the printer is configured. This
section covers how to change these basic configuration options for your printer through the
printer’s front panel. Review Figure 3 on page 3
to familiarize yourself with the front panel
controls.
Refer to Configuration and Calibration LCD Displays on page 57 for more detailed
information on all of the configuration options available on your printer.
Many printer settings may also be controlled by your printer’s driver or label preparation
software. See the driver or software documentation for more information.
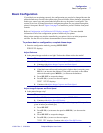
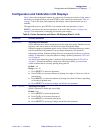
To perform basic a configuration, complete these steps:
1. Enter the configuration mode by pressing SETUP/EXIT.
DARKNESS
displays.
Adjust Darkness
2. Is the printed image too dark or too light? Or does the ribbon stick to the media?
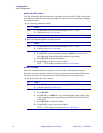
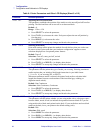
Adjust Image Crispness and Print Speed
3. Is the printed image crisp?
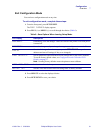
If... Then...
No 1. Press PLUS (+) to move to the next option:
PRINT SPEED
.
2. Continue with Adjust Image Crispness and Print Speed.
Yes 1. Press SELECT.
2. If the labels moved forward, but the print is light or there is no print, press
PLUS (+) to increase the darkness. If the print is too dark, or the ribbon
sticks to the media, press MINUS (–) to decrease the darkness.
3. Press SELECT to accept the change.
4. Press PLUS (+) to move to the next option.
PRINT SPEED
displays.
5. Continue with Adjust Image Crispness and Print Speed.
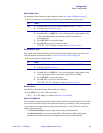
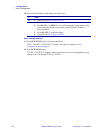
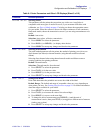
If... Then...
Yes 1. Press PLUS (+) to move to the next option:
TEAR-OFF
.
2. Continue with Adjust Tear-Off Position.
No Slow down the print speed by completing the following steps. Print speed is
given in inches per second (ips).
1. Press SELECT.
2. Press PLUS (+) to increase the speed or MINUS (–) to decrease the
speed.
3. Press SELECT to accept the changes.
4. Press PLUS (+) to move to the next option.
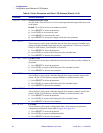
TEAR OFF
displays. Continue with Adjust Tear-Off Position.


