5
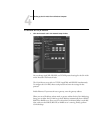
5-12 Setting up Network Servers
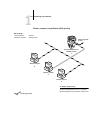
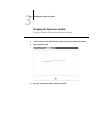
Adding the GA-1040 to the TCP/IP network
If your TCP/IP network consists of Windows NT 4.0 servers and Windows NT 4.0
clients, use the directions in this section.
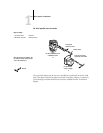
TO ADD THE GA-1040 TO A TCP/IP NETWORK WITH A
WINDOWS NT 4.0 SERVER
1. Register the IP address of the GA-1040 in the host name database used by
your system.
The hosts file maps remote devices to IP addresses. Users can then communicate with
any device over TCP/IP by using the host name rather than having to remember its
IP address.
For installations that do not have a network administrator or a central host name
database, add the GA-1040 to the hosts file on the Windows NT 4.0 server. Also add
it to the hosts file on any workstations that have TCP/IP loaded and will use the Fiery
utilities.
The Windows NT hosts file provides compatibility with the UNIX hosts file. The
hosts file is used as a local Domain Name Services (DNS) equivalent. It has the same
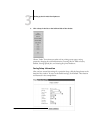
format as the /etc/hosts file on UNIX servers. The format of the hosts entry is:
IP Address<TAB>host name<TAB>#comments
where <TAB> indicates that you press the Tab key.
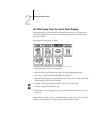
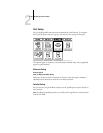
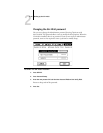
To determine the IP Address and Server Name of your system, print a Configuration page
from the GA-1040 Touch Panel Display (see page 2-20).
NOTE: If the GA-1040 has already been defined in an /etc/hosts file or equivalent host
name database on a UNIX workstation on your network, use the same host name here
as you used for the name of the remote printer in the /
etc/printcap file.
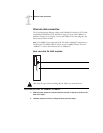
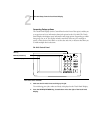
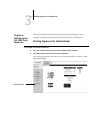
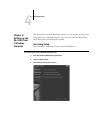
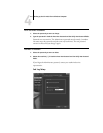
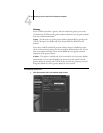
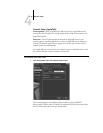
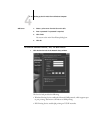
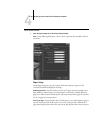
2. On the GA-1040 Touch Panel Display, perform Server Setup, Network Setup and Printer
Setup to support TCP/IP printing.
Enter the options in Protocol Setup (IP address of the GA-1040, Subnet mask, and
Gateway address).