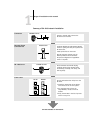
5
5-6 Setting up Network Servers
There is no need to rerun Setup when adding or removing a NetWare queue; however
you should reboot the GA-1040 after a queue is created or removed.
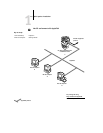
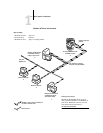
When the GA-1040 is configured to connect to a NetWare server, it polls the NetWare
server for jobs in each of its queues. If jobs are found, they are transferred over the
network to the matching connection: Print to Print, Hold to Hold, Direct to Direct.
While a job is processed and printed, a record of the job is being created. You can
access the Job Log containing these records at any time.
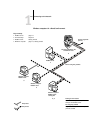
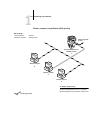
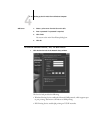
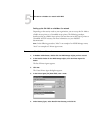
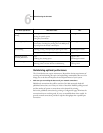
Configuring a NetWare server for printing
The following sections explain how to set up a NetWare file server so that networked
users can print to the GA-1040 from their workstations, and the GA-1040 can obtain
print jobs from the NetWare server.
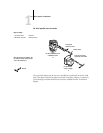
For each NetWare file server that you configure, follow these general steps. More detail
is provided in subsequent sections and in your NetWare documentation.
• Make sure the server is connected to a functioning IPX network.
• Log in as the Supervisor on a PC connected to the NetWare file server.
• For NetWare 4.x installations, set up an NDS connection (see page 5-8).
• For NetWare 4.x in emulation mode, set the bindery context (see page 5-8).
• For NetWare 3.x and for NetWare 4.x in bindery emulation, set up a file server, a
print server, and a print queue for the GA-1040 (see page 5-9).
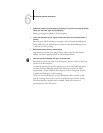
With bindery services, you can route all GA-1040 print jobs through the same
NetWare file server, or you can configure more than one file server to handle GA-1040
jobs.
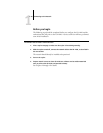
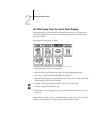
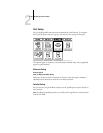
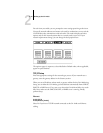
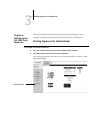
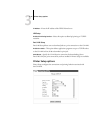
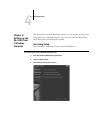
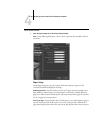
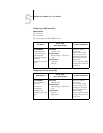
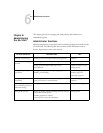
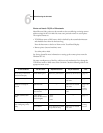
The functions you perform on the Novell server, on the GA-1040, and on the client
workstation, are summarized in the following tables. The first table applies to NDS
connections, the second to bindery connections. Complete the operations in the left
column, then the center column, then the right column.