4
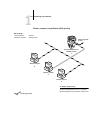
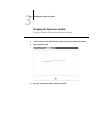
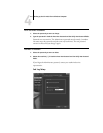
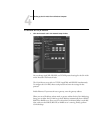
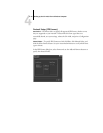
4-9 Network Setup
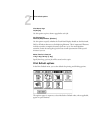
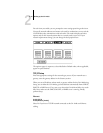
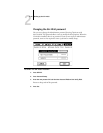
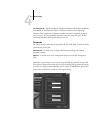
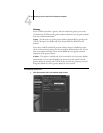
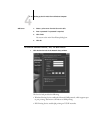
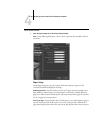
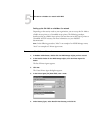
Protocol Setup (TCP/IP)
Enable on Ethernet—Click to enable if you have a TCP/IP network connected to the
GA-1040 over Ethernet cabling.
You must enable TCP/IP for Ethernet to use the Fiery WebTools over Ethernet. If you
are using TCP/IP for printing from Windows NT 4.0 workstations, enabling TCP/IP
here also enables you to use Fiery utilities from Windows NT 4.0 workstations using
TCP/IP protocols.
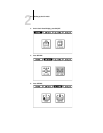
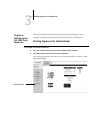
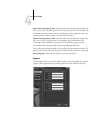
IP Auto (Ethernet)—Click to allow the GA-1040 to obtain its Ethernet IP address by
searching the network. Depending on your network and the protocol you select
(DHCP, BOOTP, or RARP), the IP address can change.
Select protocol (Ethernet)—Select the protocol over which the GA-1040 should
search for its IP address. Both DHCP and BOOTP allow the GA-1040 to obtain the
Ethernet IP address and Subnet Mask automatically. RARP obtains only the Ethernet
IP address.
Depending on your network, the GA-1040 might be assigned a different address after
you reboot the GA-1040. With the DHCP setting, the GA-1040 can be assigned a
different address even if it is not rebooted. Make sure the network is already configured
properly for the protocol you select.
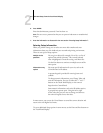
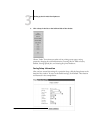
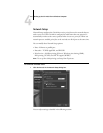
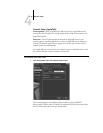
IP Static (Ethernet)—Click to assign the GA-1040 a static IP address that will not
change.
IP Address (Ethernet)—Enter the GA-1040 IP address for Ethernet. You must change
the default to a valid address for your network. For information about setting up
printing with TCP/IP, see Chapter 5.
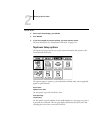
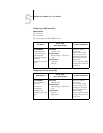
Subnet Mask (Ethernet)—If you need to set the subnet mask, enter one of the
following values:
• 255.0.0.0 if the IP address starts with a number less than 128
• 255.255.0.0 if the IP address starts with a number from 128 through 191
• 255.255.255.0 if the IP address starts with a number greater than 191
NOTE: Be sure to confirm the subnet mask setting with your network administrator
before proceeding. In some cases the required setting may be different from those
listed.