2
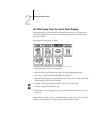
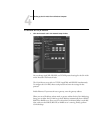
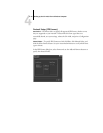
2-5 GA-1040 Setup from the Touch Panel Display
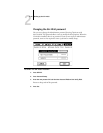
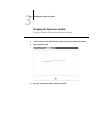
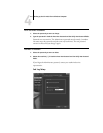
6. Press ADMIN.
Enter the administrator password, if one has been set.
NOTE: Be sure to set a password so that you can prevent inadvertent or unauthorized
changes.
7. Enter the information as discussed in the next section “Entering Setup information”.
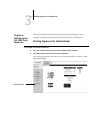
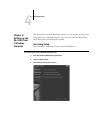
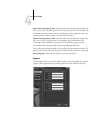
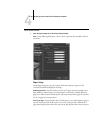
Entering Setup information
When you perform Setup, you can select one menu after another and enter
information about your GA-1040 and your network and printing environment.
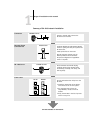
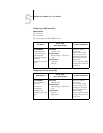
There are two types of Setup options:
In most menus, you can use the Cancel button to cancel the current selection and
return to the next higher-level menu.
To access additional Setup options in some menus, use the Next and Prev buttons on
the Touch Panel Display.
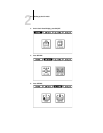
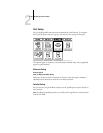
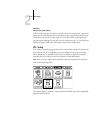
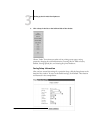
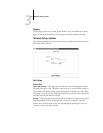
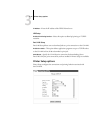
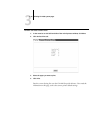
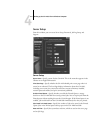
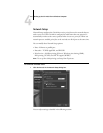
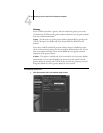
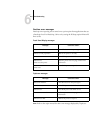
Multiple choice
questions
You are given choices (for example, Yes or No, or a list of
options from which to choose). The currently selected
value is highlighted. Choose the setting, and choose Set.
Use the Next button to continue to multiple screens of the
same option.
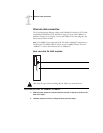
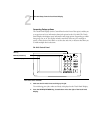
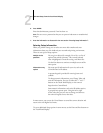
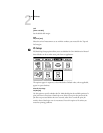
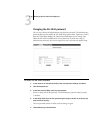
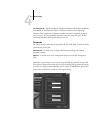
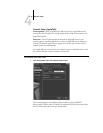
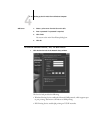
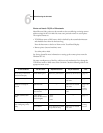
Information entry
options
You must specify information for your site, such as the
GA-1040 name or IP address.
A separate keypad is provided for entering letters and
symbols.
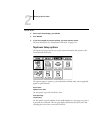
To change numeric information, press Change Value and
enter the information. You can use either the “+” and “-”
buttons on the Touch Panel Display, or the numeric
keypad on the Control Panel.
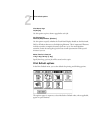
Some numeric information, such as the IP Address option,
is grouped into separate parts. Using the left or right
arrows, select the part you want to change, and then use
the numeric keypad to enter the value.