4
4-15 Network Setup
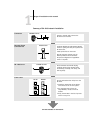
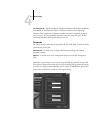
PServer Setup (Bindery Setup)
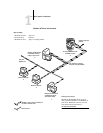
Use Bindery Setup if you have already configured one or more bindery servers (file
servers running NetWare 3.x, or NetWare 4.x or 5.x in bindery emulation) with a Print
Server and a Print Queue for GA-1040 jobs (see page 5-6). Before entering bindery
settings, be sure the GA-1040 is connected to the network and the NetWare file server
is running. You’ll need a login name, and, if access to the file server or print server is
restricted, you’ll need a login password.
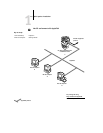
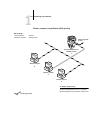
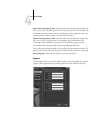
Because you can set up more than one Novell server to handle GA-1040 print jobs,
Bindery Setup allows you to add or delete new file server connections and view the
connections you have selected. The options are:
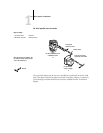
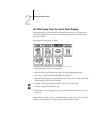
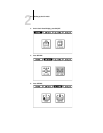
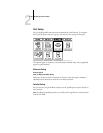
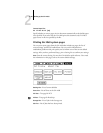
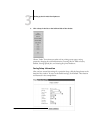
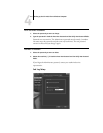
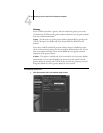
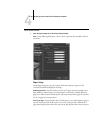
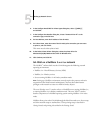
Select Print Server 1. Select the print server from the display in the Select Print Server window.
2. Enter a password if necessary.
3. Click OK.
The Select print queue root window appears.
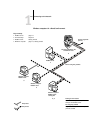
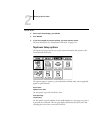
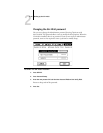
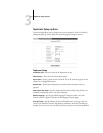
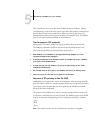
Select Print Queue
Root
1. Select the print queue root (the container object which contains the print
queue) from the display in the Select Print Queue Root window.
2. Enter a password if necessary.
3. Click Finish.
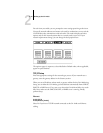
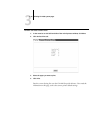
The NetWare Setup window reappears, showing the new settings.
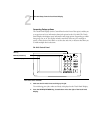
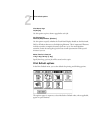
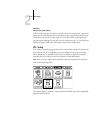
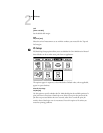
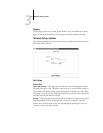
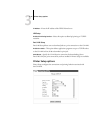
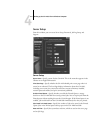
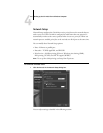
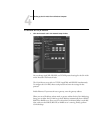
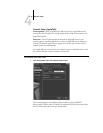
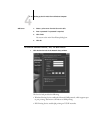
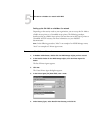
Bindery Setup... Click the Bindery Setup button to bring up the Novell Setup window.
Novell Setup 1. Click the server you want to add.
2. Click Add.
3. Enter your user name and password.
4. Click Next.
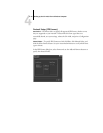
The Add Server window shows a list of print servers you can add.