3
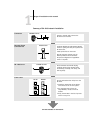
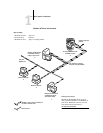
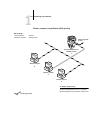
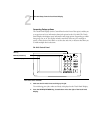
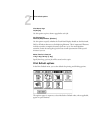
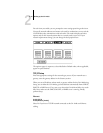
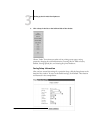
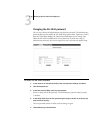
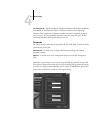
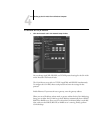
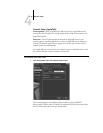
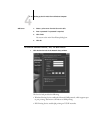
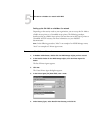
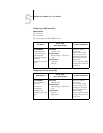
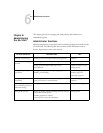
3-7 Network Setup options
Depending on your network, the GA-1040 might be assigned a different address after
you reboot the GA-1040. With the DHCP setting, the GA-1040 can be assigned a
different address even if it is not rebooted. Make sure the network is already configured
properly for the protocol you select.
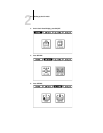
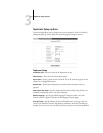
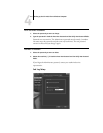
IP Address—Enter the GA-1040 IP address for Ethernet. This IP address, unlike an
IP address set automatically, remains the same if you reboot the GA-1040. You must
change the default to a valid address for your network.
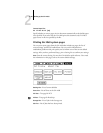
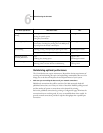
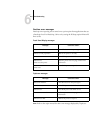
Subnet Mask—Modify the subnet mask for printing with TCP/IP over Ethernet.
To set the subnet mask, enter one of the following values:
• 255.0.0.0 if the IP address starts with a number less than 128
• 255.255.0.0 if the IP address starts with a number from 128 through 191
• 255.255.255.0 if the IP address starts with a number greater than 191
NOTE: Confirm the subnet mask setting with your network administrator before
proceeding. In some cases the required setting may be different from those listed.
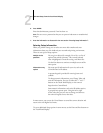
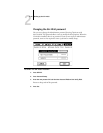
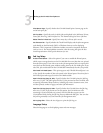
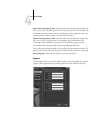
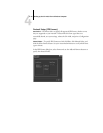
Gateway
Enable Auto IP Address (Gateway)—Use this option to get the gateway address
automatically for printing with TCP/IP. This option is valid only if you selected
DHCP or BOOTP as the protocol (see page 2-13).
Gateway Address—Set the gateway address for printing with TCP/IP.
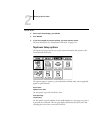
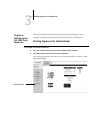
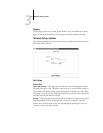
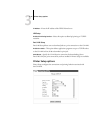
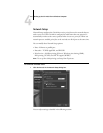
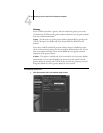
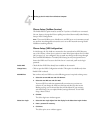
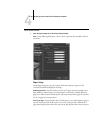
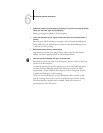
IPX/SPX Setup
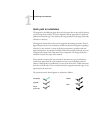
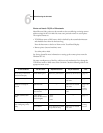
Select Frame Types—You must select at least one frame type. You can choose Auto,
which allows the GA-1040 to determine the frame type to use on your network.
If you choose Auto, the GA-1040 will bind only to the first frame type it finds, which
is typically 802.2. To ensure that all available frame types are bound, select each one
individually. The GA-1040 supports the following frame types for IPX/SPX:
• For Ethernet—Ethernet 802.2, Ethernet 802.3, Ethernet II, and Ethernet SNAP