


Configuring VoIP Settings
4-100 41-001190-02 Rev. 01, Rel. 1.2
AastraLink Pro 160 Administrator Guide
For an MBU handset, the "My Phone" page looks the same as other phones
except there is no "SoftKeys" tab (similar to a user with a 51i IP Phone).
Note: The MBU handsets do not support XML, and therefore, cannot be used as
an operator extension.
Removing an MBU removes all extensions and handsets that were associated with
that MBU, and clears its configuration server association to the AastraLink.
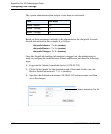
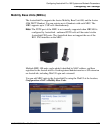
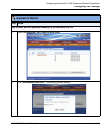
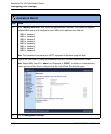
Adding an MBU
Use the following procedure to add an MBU to the AastraLink Pro network.
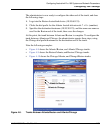
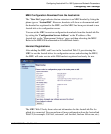
AastraLink Web UI
Step Action
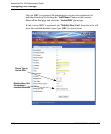
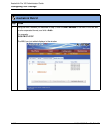
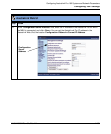
Reset the MBU 400 and register the first DECT 420d handset
1 Factory defaul the MBU by holding the reset switch for 15 seconds (until all the LEDs come on) then
release the switch. When the MBU completes reboot, the I-Net LED flashes.
2 Register your DECT 420d handset to the MBU using the procedures decribed in your MBU 400
Install Guide.
The MBU uses DHCP by default to assign it an IP address. The I-Net LED lights up solid ON. If you
are using the static IP range rather than DHCP, configure the network settings for the MBU using the
MBU 400 Web interface at the location, 420d Menu Setting->Internet Settings->IP Mode.
Reboot the MBU.
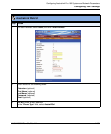
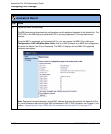
3 Press the <Volume Up> key on the side of the registered 420d handset. This displays the MBU
network settings (including the MAC address and current IP Address).
Make a note of the MAC address and IP address of the MBU.