


Registering IP Phones At the Central Site
A-4 41-001190-02 Rev. 01, Rel. 1.2
AastraLink Pro 160 Administrator Guide
Registering IP Phones At the Central Site
Prior to remote deployment, use the instructions in this section to register an IP
phone with the AastraLink device.
Step Action
1 To begin the setup process, use the supplied RJ45 cables to connect your Aastra IP phone to
your Ethernet Hub/Switch.
Note: See your AastraLink Pro 160 Quick Start User’s Guide for detailed instructions on setting
up and installing your Aastra IP phone.
2 Connect the 48V power cord to your Aastra IP phone.
Notes:
For Ethernet networks that supply in-line power to the phone (IEEE 802.3af):
- Use the Ethernet cable (supplied) to connect from the phone directly to the network.
- No 48v AC power adapter required.
For Ethernet networks that DO NOT supply power to the phone:
- Use the 48V AC Power Adapter to connect from the DC power port on the phone to a power
source.
- Use the Ethernet cable (supplied) to connect from the phone to a network jack.
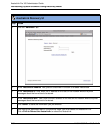
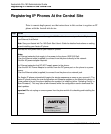
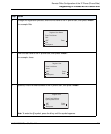
The Aastra IP phone automatically begins the startup sequence as soon as you connect it. The
Aastra IP phone checks for new configuration and firmware updates on the AastraLink device. If
a new update is found, the phone displays the update it is installing (either “Updating Config” or
“New Firmware”). This may take a few moments while the configuration server downloads the
latest updates.
Important! Do not unplug or remove power from the phone while it is checking and installing the
firmware.
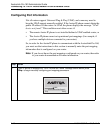
Checking for Firmware
Do not unplug phone!
60%