Sending Documents
4‑4
Sending an E-Mail Message (imageCLASS MF7480 Only)
You can scan an original and send it as an attached file in an e‑mail message. You can add
the document’s name, a subject line, message body text, reply‑to address, and e‑mail
priority. The scanned document can be sent as a JPEG, TIFF, or PDF file.
.
1 Press (SEND).
2 Place your originals.
3
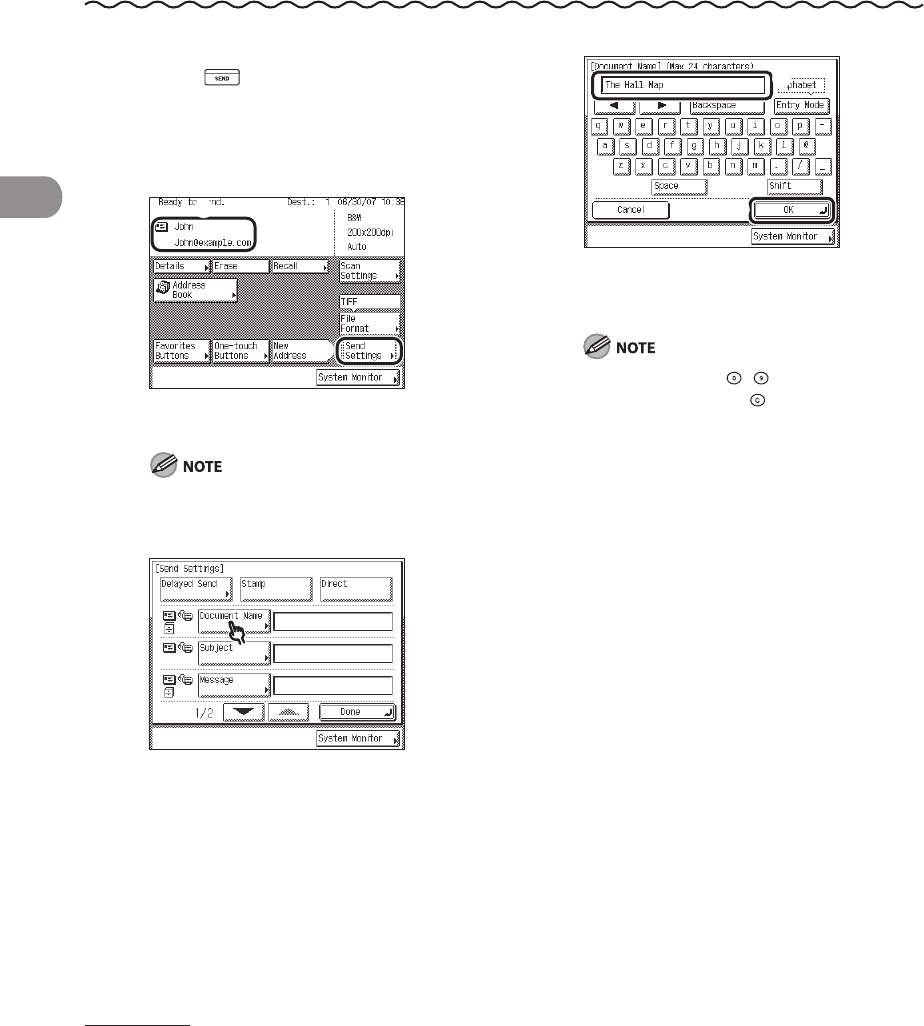
① Specify the e‑mail address.
② Press [Send Settings].
For instructions on specifying destinations,
see “Specifying Destinations,” on p. 4‑32.
4
5
① Enter the name of the document (up to 24
characters) that you want to send.
② Press [OK].
You can also use – (numeric keys) to
enter numbers, and (Clear) to clear your
entry.
When you are sending documents, each
page is sent as a separate image attached
to an e‑mail message, and the extension
of the document matches the file format
that you select for sending. The file name
prefix of the image attached to the e‑mail
message is assigned as follows:
If you set the document’s name:
The file name prefix is generated by the
document’s name, transaction number,
and four digits that signify the page
number of the image.
Example: document name_1004_0001.tif
If you do not set the document’s name:
The file name prefix is generated by the
transaction number and four digits that
signify the page number of the image.
Example: 1004_0001.tif
–
–
–
–
