4‑25
Sending Documents
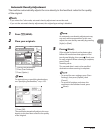
Automatic Density Adjustment
The machine automatically adjusts the scan density to the level best suited to the quality
of the original.
If you select the Color mode, automatic density adjustment cannot be used.
If you set the automatic density adjustment, the original type setting is disabled.
–
–
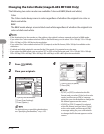
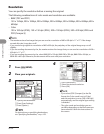
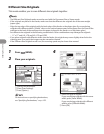
1 Press (SEND).
2 Place your originals.
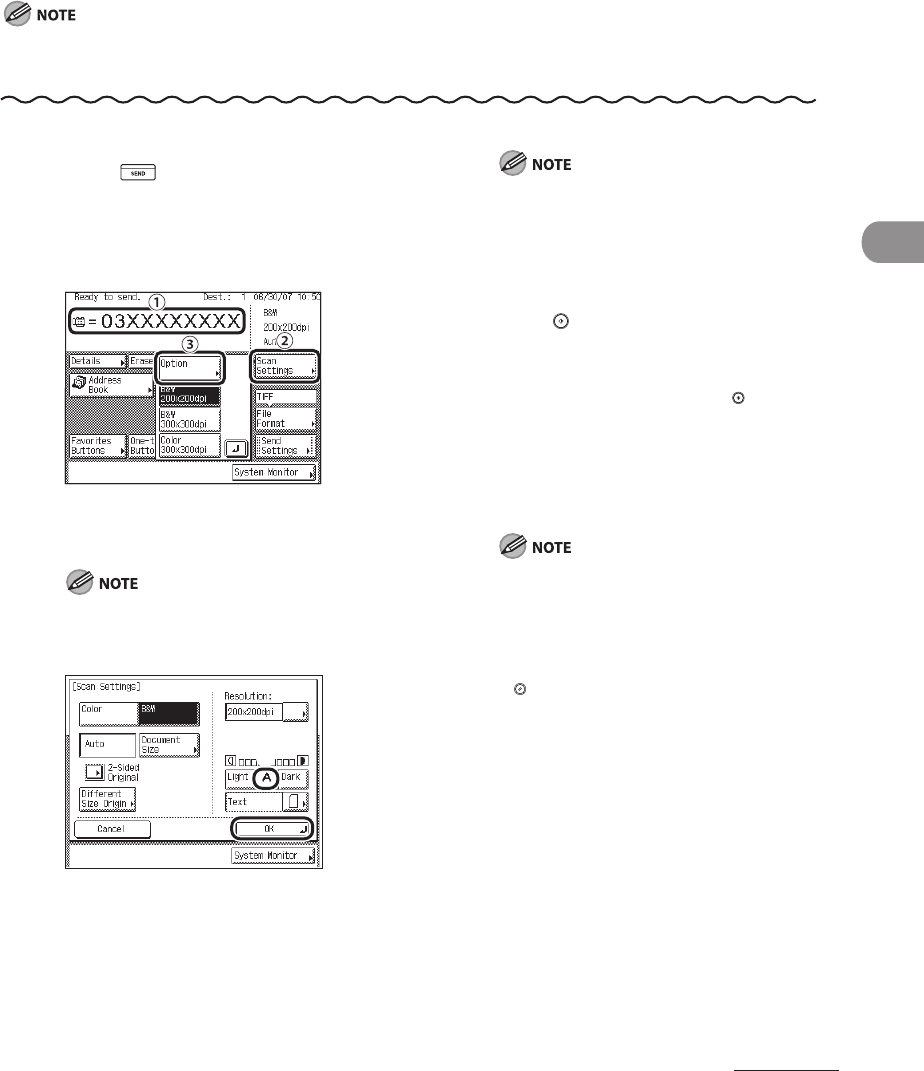
3
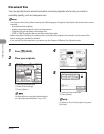
① Specify the destination.
②
Press [Scan Settings].
③
Press [Option].
For instructions on specifying destinations,
see “Specifying Destinations,” on p. 4‑32.
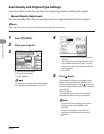
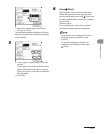
4
① Press [A].
②
Press [OK].
The machine automatically adjusts the scan
density to the level best suited to the quality
of the original.
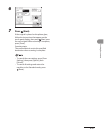
An automatic scan density adjustment may
not work with transparencies. In this case,
adjust the scan density manually by pressing
[Light] or [Dark].
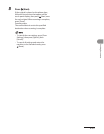
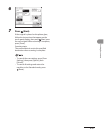
5 Press (Start).
If the original is placed on the platen glass,
follow the instructions that appear on the
touch panel display, then press (Start) once
for each original. When scanning is complete,
press [Done].
Scanning starts.
The scanned data is sent to the specified
destination when scanning is complete.
To cancel the scan settings, press [Scan
Settings], then press [Option], then
[Cancel].
To cancel all settings and return the
machine to the Standard mode, press
(Reset).
–
–


