Sending Documents
4‑10
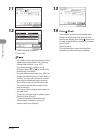
11
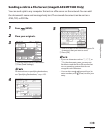
12
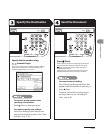
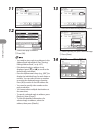
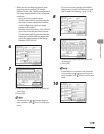
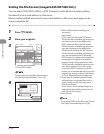
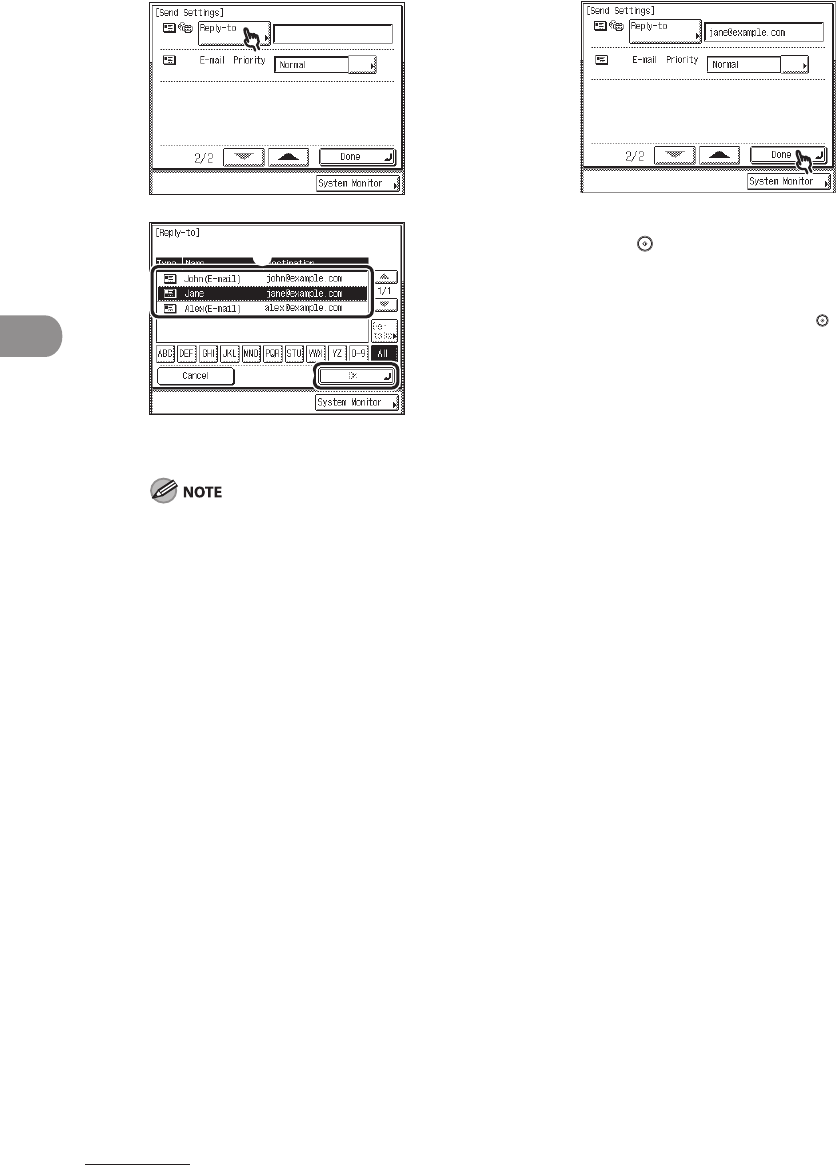
① Select the reply‑to address.
② Press [OK].
You need to store reply‑to addresses in the
Address Book beforehand. (See “Storing/
Editing Address Book,” on p. 4‑57.)
If the desired reply‑to address is not
displayed, press [▼] or [▲] to scroll to the
desired reply‑to address.
Press the alphanumeric keys (e.g., [ABC]) to
display the individual keys for each letter or
number. You can select a letter or number
to restrict the displayed range of entries.
Press [All] to return to the full address list.
You can also specify a fax number as the
reply‑to address.
You cannot select multiple destinations at
the same time.
To cancel a selected reply‑to address, press
[Reply‑to], then [Cancel].
To view the detailed information of a
selected reply‑to address, select the
address, then press [Details].
–
–
–
–
–
–
–
13
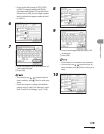
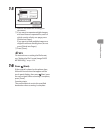
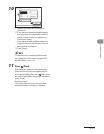
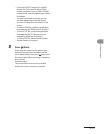
14 Press (Start).
If the original is placed on the platen glass,
follow the instructions that appear on the
touch panel display, then press (Start) once
for each original. When scanning is complete,
press [Done].
Scanning starts.
The scanned data is sent to the specified
destination when scanning is complete.


