Chapter 9 Scanning 94
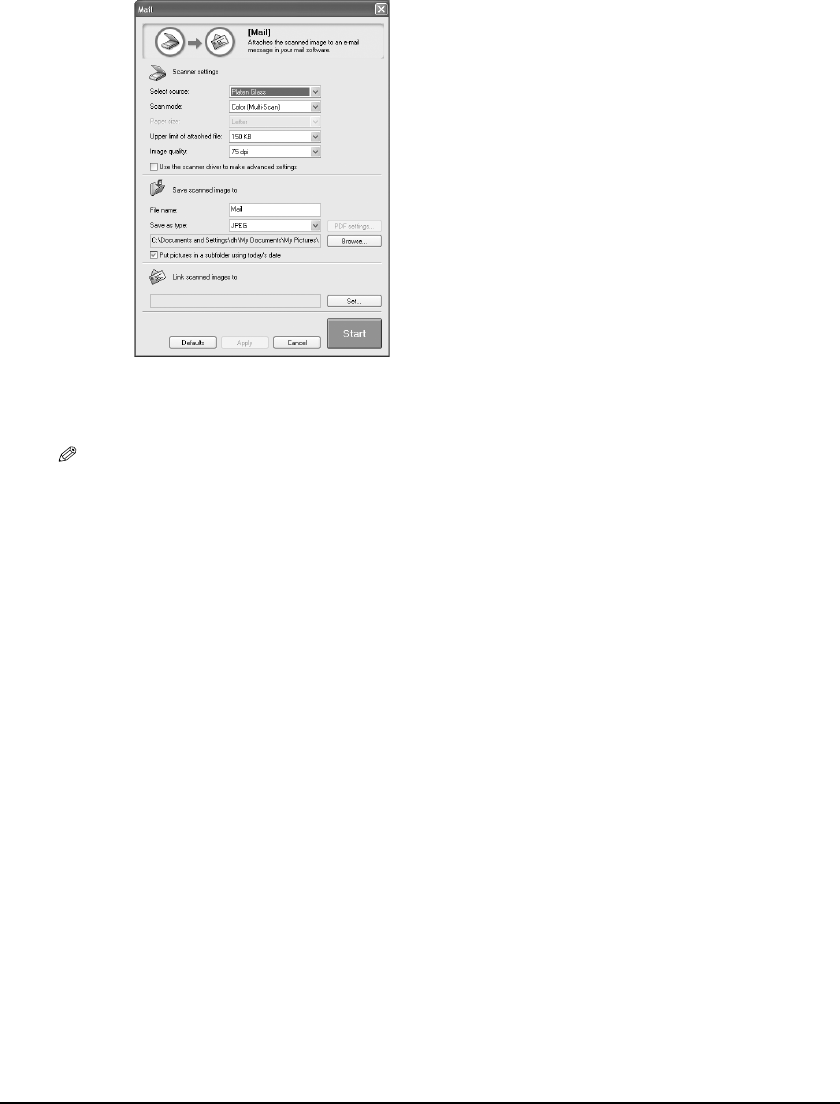
4 If the settings screen appears, change the settings as necessary.
• For details on the settings of the screens, see Software Guide.
5 Click [Start].
• The document is scanned.
NOTE
• The scanned document will be saved in the following location, depending on your computer environment.
–If the [My Documents] folder contains the [My Pictures] folder, a folder with the scanning date will be
created in the [My Pictures] folder, and your document will be saved in this folder.
–If there is no [My Pictures] folder, a folder with the scanning date will be created in the [My Documents]
folder, and your document will be saved in this folder.
• If you clicked [File], [Scan-1], [Scan-2], [Mail], or [OCR] in step 3, the scanned image will be displayed in
the application after scanning. Send the e-mail message or perform OCR conversion. The scanned image will
not be displayed if you have not installed the applications on the Setup CD-ROM or if you have not set the
[Link scanned images to] setting. (See Software Guide.)
Ex: Settings screen for [Mail] button
