


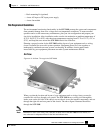
Chapter 4 Installation and Maintenance
Installing the SCE 2000 Platform
SCE 2000 4xGBE Installation and Configuration Guide
OL-7824-02 4-11
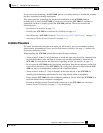
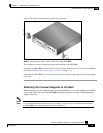
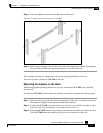
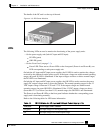
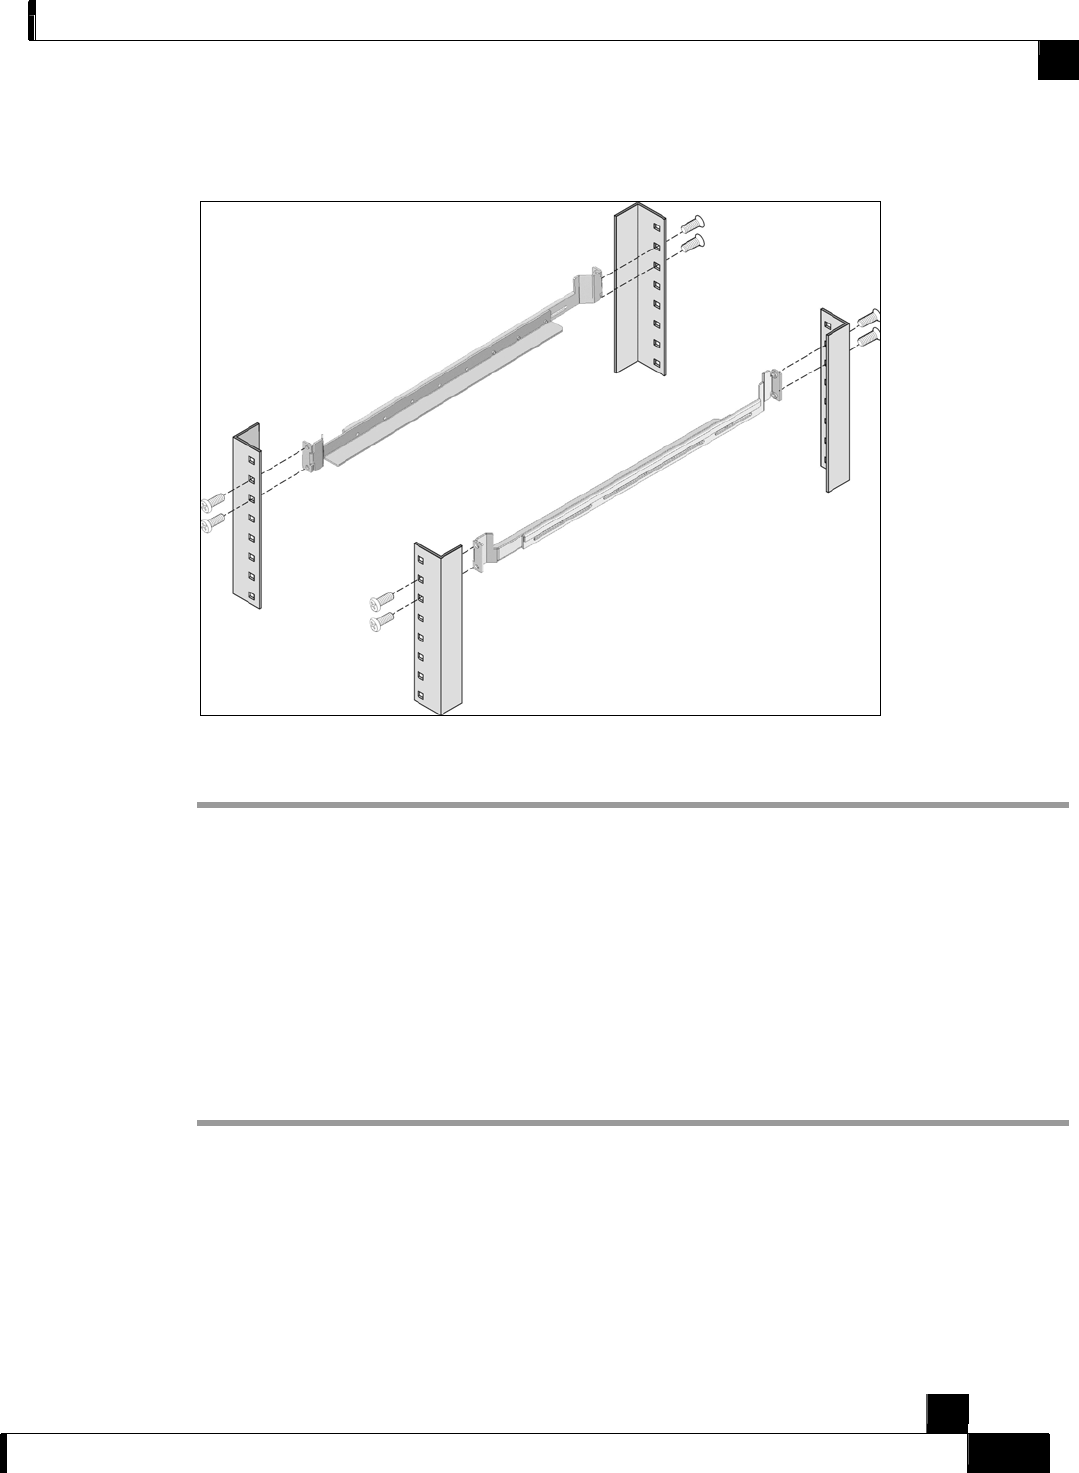
Step 4 Insert and tighten two screws to the Back posts of the rack.
Figure 4-7: Attaching the Crossrails to the Rack
Step 5
Repeat steps 2 through 4 on the other side of the rack, keeping the brackets flush against
the posts and parallel to the supporting bracket on first side of the rack.
This completes the steps for attaching the rack-mount supporting brackets to the rack.
You are now ready to mount the SCE 2000 to the rack.
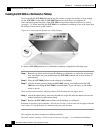
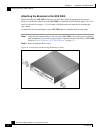
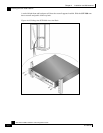
Mounting the System to the Rack
When the appropriate mounting brackets are securely installed, the SCE 2000 can be installed
into the rack.
To mount the SCE 2000 to the rack after the brackets are installed, complete the following steps:
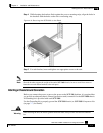
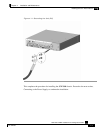
Step 1 Make sure that your path to the rack is unobstructed. If the rack is on wheels, ensure that
the brakes are engaged or that the rack is otherwise stabilized.
Step 2 Position the SCE 2000 so that the front end is closest to you, and lift it carefully to place
it into the rack. To prevent injury, avoid sudden twists or moves.
Step 3 Slide the SCE 2000 into the rack, pushing it back until the brackets (installed at the front
of the SCE 2000) meet the mounting strips or posts on both sides of the rack.