


39
Speed Sending
Up to 70 Speed Send numbers are set up on the host
computer using the Compaq A1500 Settings Utility as
described in the “Speed Send Settings” section of the
Using the A1500 Settings Utility chapter. Once the
Speed Send numbers are set up, you are ready to begin
faxing with Speed Send.
1. Load the documents printed side facing down in
the document input tray.
2. Press Speed Send (the # button).
3. Press the Options button to select the Speed
Send destination or enter the Speed Send
number associated with the name desired.
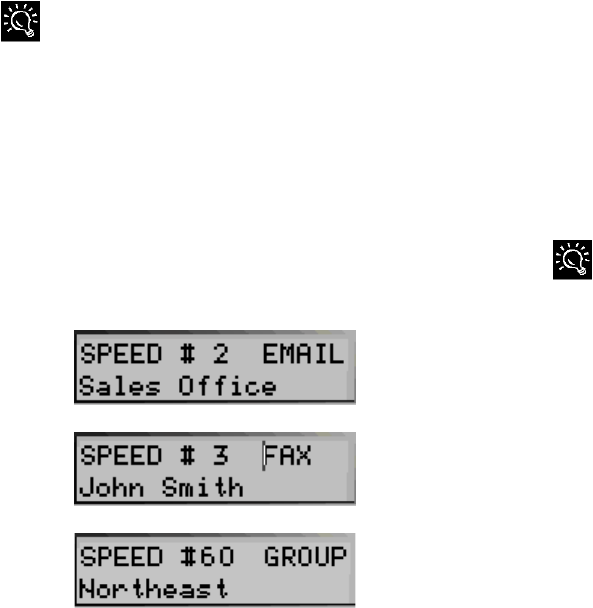
NOTE: When you select the Speed Send number,
the name associated with the Speed Send
number
displays in the lower LCD panel.
4. Press Start to fax.
To quickly send a fax using the default settings, simply load the
documents, enter the fax number or Speed Send number, and
press the Fax button. Use Speed Send #70 to send a fax to
everyone in your Speed Send list.
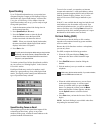
To obtain a printed list of all the Speed Sends available
on your system, see “Printing Reports” in the Common
Procedures section.
Each Speed Send entry can be a fax number, email
address or a group made up of any of the Speed Send
entries. The display on the control panel indicates the
type of Speed Send entry selected.
Speed Sending Faxes as Email
The computer processes the Speed Send request if the
selected Speed Send entry, group, or any of the
members of the group, contains an email address as the
preferred method of transmission.
To send a fax as email, you must have an internet
account and connection, a valid email address, and an
email program that supports MAPI (such as Microsoft
Outlook, Outlook Express, Eudora, etc). Your fax
pages will be sent as JPEG images attached to your
email.
If the PC is not available but the entry has both fax and
email addresses, the fax number will be used. If an
email only destination exists, you will be asked if you
want to send faxes only. Pressing Start will result in
transmission of the faxes and the generation of a report
that identifies which entries were not faxed.
On Hook Dialing (OHD)
This feature provides the ability to dial a number,
respond to an automated answering system and then
receive or send a fax.
Because the All-In-One does not have a microphone,
you can only listen.
For OHD, complete the following procedure:
1. When the LCD panel displays Ready, place
documents face down on the document input
tray.
2. Press Start/Dial button to simulate lifting the
handset.
3. Dial the number just as you would on a standard
telephone.
Make sure to dial the number carefully. If you make a mistake,
press the STOP button and start over.
4. When the called station answers, you can listen
to the answering message. A volume control
feature is available when you press the Menu
button. To change the volume, press the Menu
button until Speaker Volume appears, and then
use the Options button to select the desired
volume.
5. Press Start when you hear the fax tones. The fax
begins.
NOTE: On Hook Dialing is not available when faxes
are pending for automatic redial.