DBC Network Bridge
Operation Manual page 19
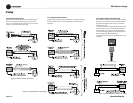
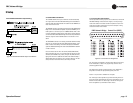
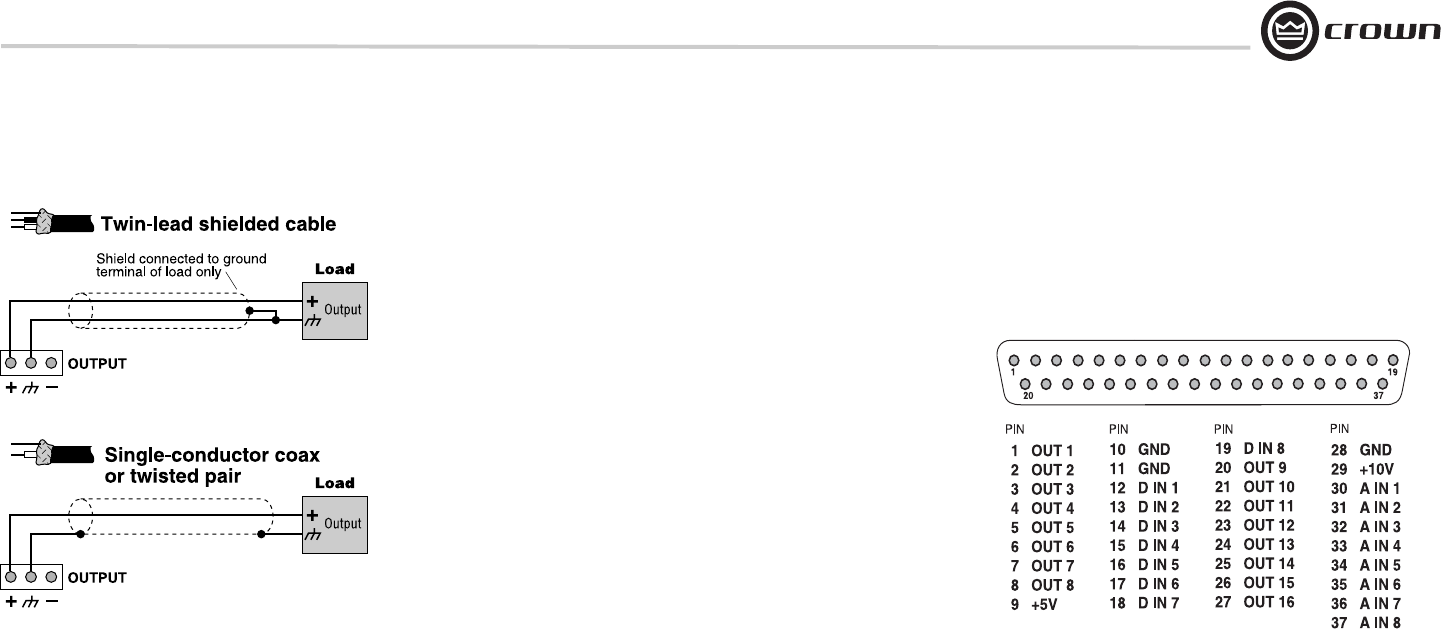
3.3.5 Unbalanced Monitor Output Wiring
3 Setup
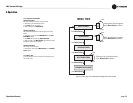
Figure 3.6 Unbalanced Monitor Output Connections
3.3.6 CobraNet Connections
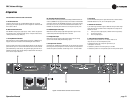
The CobraNet network carries up to 32 channels of audio bidirectionally
via a single cable. Connect the DBC Network Bridge to the CobraNet net-
work using RJ45-terminated standard CAT 5 cable from the PRIMARY con-
nector on the rear of the unit.
The PRIMARY connection can either be connected to another DBC Network
Bridge unit or other CobraNet-compatible component’s PRIMARY port. A
further option is to connect to a port on a 100Mbit Ethernet switch or hub
in order to distribute the network audio to other devices. Devices that are to
communicate with the DBC Network Bridge will all need unique Ethernet IP
addresses assigned. See the CobraNet sections 4.7.8 and 8.3 for more
details.
The SECONDARY connector is for creating a redundant network for backup
purposes. This port should be tied to the backup Ethernet network. In the
event of a failure in the cabling or hardware connected to the PRIMARY
system the DBC Network Bridge will switch to the SECONDARY network in
a matter of seconds.
On each connector are two LEDs. The left LED (IN USE/CONDUCTOR)
lights yellow when the port is in use and will blink if the device is also the
conductor (the CobraNet timing master). The right LED (LINK/ACTIVITY)
lights green when link is established and blinks when network activity is
detected. Both LEDs flash yellow in unison to report a fatal error. The Sec-
ondary Connector has identical LEDs as the Primary Connector.
3.3.7 Control Port Connections
Connect any external circuits you plan to use to control and/or monitor the
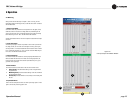
DBC Network Bridge via the Control Port. Figure 3.7 shows pin assign-
ments for the Control Port. See the Control Port (Section 5.2.4) for infor-
mation on the operation of the Control Port, and for examples of wiring
circuits to the Control Port connector.
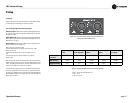
DBC Network Bridge Control Port (DB37)
Pins 1 through 8 are assignable to manually select a binary (on/off) value,
chosen Preset status, or status of any logical binary control or sensor
(most likely gate and Preset).
Pins 20 through 27 provide an analog output from 0 to +10VDC that is
assignable or can reflect an object (including faders) of the unit.
A total of 1 amp of current is available from all outputs.
Pins 12 through 19 are assignable to logic Preset recall and general con-
trol for logical type objects within the unit, and are assignable to any com-
bination of mute controls. Pins 30 through 37 function as analog inputs
and are assignable to any combination of fader controls.
Figure 3.7 Control Port Pin Assignment


