


10-10
Replacing Ink Cartridges
R4C428_V2
long.bk Rev_C
A5 size INK.FM
1/14/00 Pass 2
L
Proof Sign-off:
tantoname _______
leadername _______
editorname _______
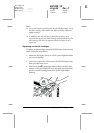
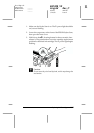
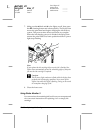
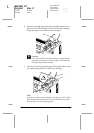
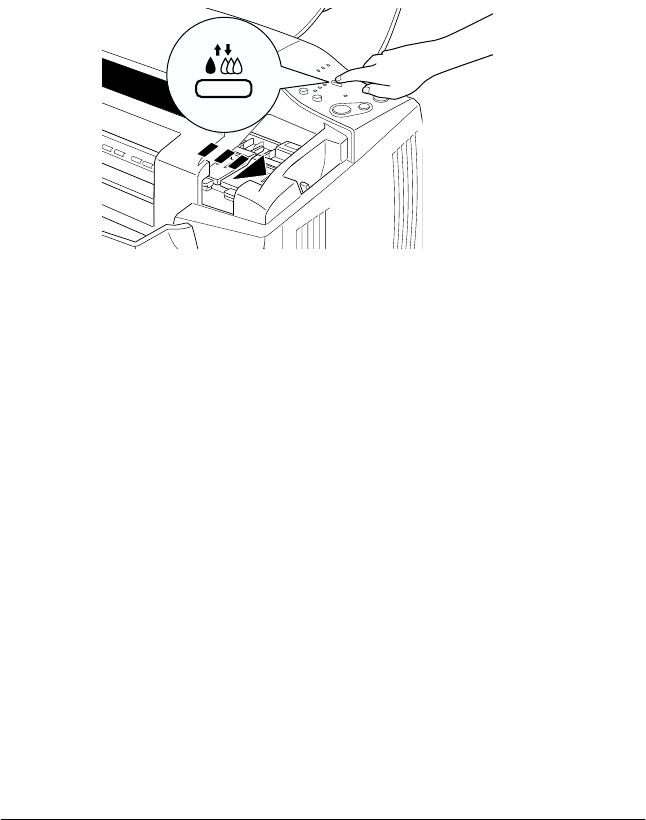
7. Make sure the
B
black and
A
color lights are off, then press
the
R
cleaning button and release quickly. The Stylus Scan
moves the print head and begins charging the ink delivery
system. This process takes about one minute to complete.
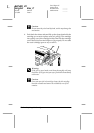
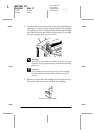
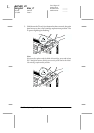
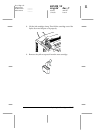
When the ink charging process is finished, the Stylus Scan
returns the print head to its home position and the
P
power
light stops flashing
.
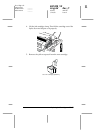
Note:
If you replace the ink cartridge before a print job is finished, the
Stylus Scan automatically prints the remaining pages of the print
job once the ink cartridge is replaced.
c
Caution:
The
P
power light continues to flash while the Stylus Scan
performs the ink charging operation. Never turn off the
Stylus Scan while this light is flashing. Doing so can result
in incomplete charging of ink.
8. Close the front cover.
Using Status Monitor 3
You can monitor the remaining ink level from your computer and
view on-screen instructions for replacing a low or empty ink
cartridge.