freeStor 4020 User’s Manual
18
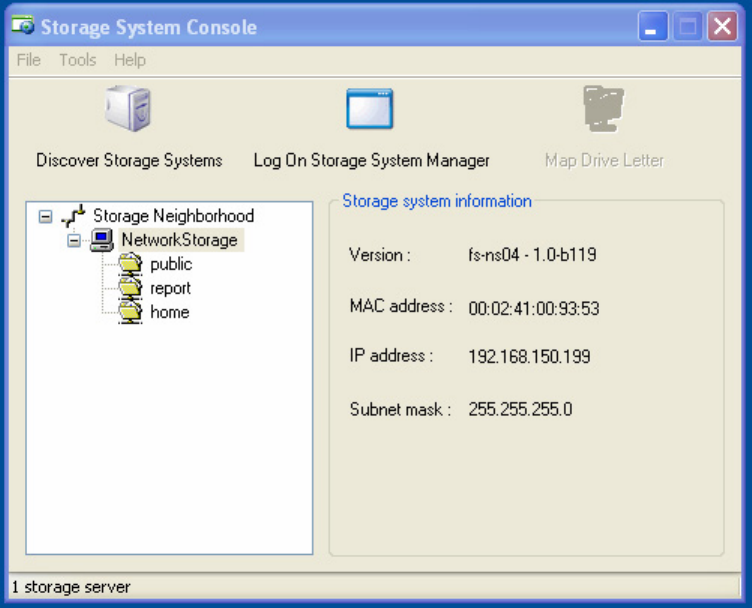
Figure 2-9: Storage System Console
In the left pane, select the name of the new unit and click “Log On Storage System Manager”
to access the web interface of the device.
If any freeStor 4020 units are added to the network after the software has started, click
“Discover Storage Systems” to rescan the network for the new units.
2.3 System Setup
Once the hard drives have been successfully installed, the freeStor 4020 will have to be
configured before it can be used. Follow these steps to configure the device.
1. Connect the freeStor 4020 to your network. If your network has a DHCP server, the
freeStor 4020 will automatically get an IP address from the DHCP server. Otherwise, the
freeStor 4020 will default to an IP address of 192.168.0.101.
2. Using a computer on the same network as the freeStor 4020, change the IP address of the
computer to match the freeStor 4020 (e.g. if the freeStor 4020’s IP address is
192.168.0.101, the computer’s IP address should be 192.168.0.X where X is between 1
and 254 and not the same as the freeStor 4020). For instructions on changing your
computer’s IP address.
3. Plug in and power on the freeStor 4020.


