


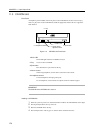

11.3 CD-ROM Unit
Ejecting a CD-ROM disk
1 If the system is running, check that the disk is in use or not. If the disk is in use, the process
should be killed to eject the CD-ROM disk. Note that you should warn the users beforehand, if
you kill a process.
2 Press the Eject button. The tray comes out.
3 Remove the CD-ROM disk, then press the Eject button. The tray goes in.
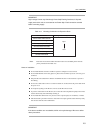
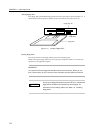
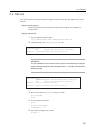
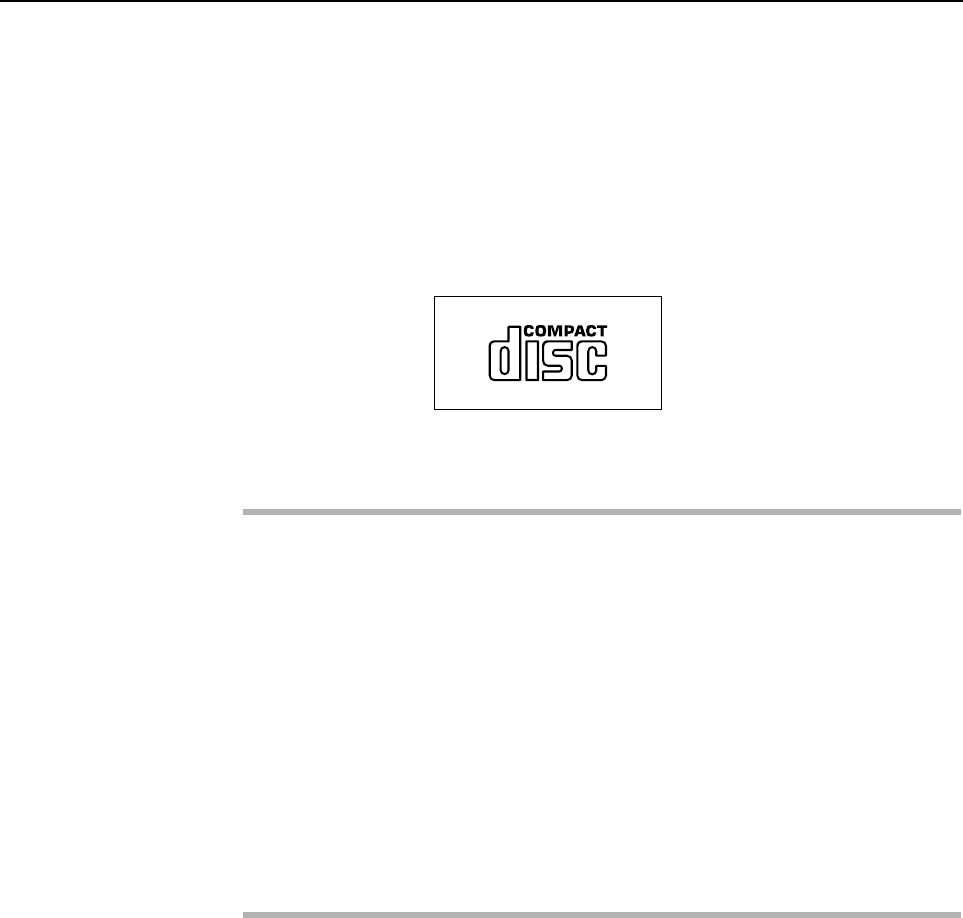
Only CD-ROM disks with the mark shown in the figure below can be used in this CD-ROM unit.
Figure 11.4 Mark on CD-ROM Disk
IMPORTANT
1 Do not scratch the surface of a CD-ROM disk. Pay special attention when removing a
CD-ROM disk from its case.
2 Do not widen the center hole of a CD-ROM disk.
3 Do not write on a CD-ROM disk with a ball-point pen or pencil.
4 Do not clean a CD-ROM disk with benzene, paint thinner, water, record spray, or an
antistatic agent.
5 Do not expose a CD-ROM disk to sunlight or heat.
6 Do not store a CD-ROM disk in a place that undergoes a rapid environmental change.
7 If a CD-ROM disk is not being used, remove it from the CD-ROM unit and store it in its
case to protect it from dust, scratching, and breakage.
Cleaning the optical lens
After the CD-ROM drive has been used for a long time, the optical lens for data reading may
become dirty, causing data on the CD-ROM disk to be read incorrectly. To clean the optical lens:
1 Use the small brush provided with the CD-ROM cleaning disk to straighten the special brush
for cleaning on the rear surface of the CD-ROM cleaning disk.
2 Press the Eject button. The tray of the CD-ROM unit comes out.
3 Place the CD-ROM cleaning disk on the tray of the CD-ROM unit with the red triangle mark
towards you.
4 Press the Eject button. The tray of the CD-ROM unit goes in.
5 Wait for about 20 seconds.
(If there are clicking sounds or the disk rotates fast, this is not a sign of a failure.)
6 Check that the BUSY LED is off, then press the Eject button and remove the CD-ROM
cleaning disk.
127