


11.6 8-mm Tape Unit
Inserting a data cartridge
1 Check that the Access LED and Ready LED are off. Do not insert a cartridge during its
power-on self test.
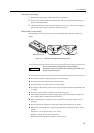
2 Insert the tape cartridge into the 8-mm tape unit. Be careful to insert the data cartridge in the
direction indicated by the label, and push gently on the cartridge.
3 The 8-mm tape unit pulls in the cartridge automatically and starts loading the tape. The Ready
LED lights after the tape has being loaded.
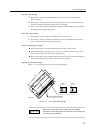
Removing a data cartridge
1 Check that the 8-mm tape unit is not operating (the Access LED is off).
2 Press the eject switch to wind back and unload the tape. Then, the Ready LED turns off, the
tape is wound back, and the data cartridge is ejected.
Notes on handling tape cartridges
When reading data, it is recommended that the data cartridge is write-protected.
When a data cartridge is not being used, be sure to store it outside the 8-mm tape unit. Never
leave a data cartridge in the 8-mm tape unit for a long time.
The 8-mm tape unit may fail to load the data cartridge and may eject it instead. If this happens,
insert the data cartridge again, making sure that it is correctly oriented.
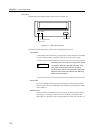
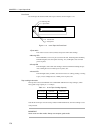
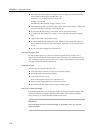
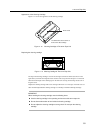
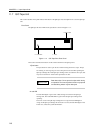
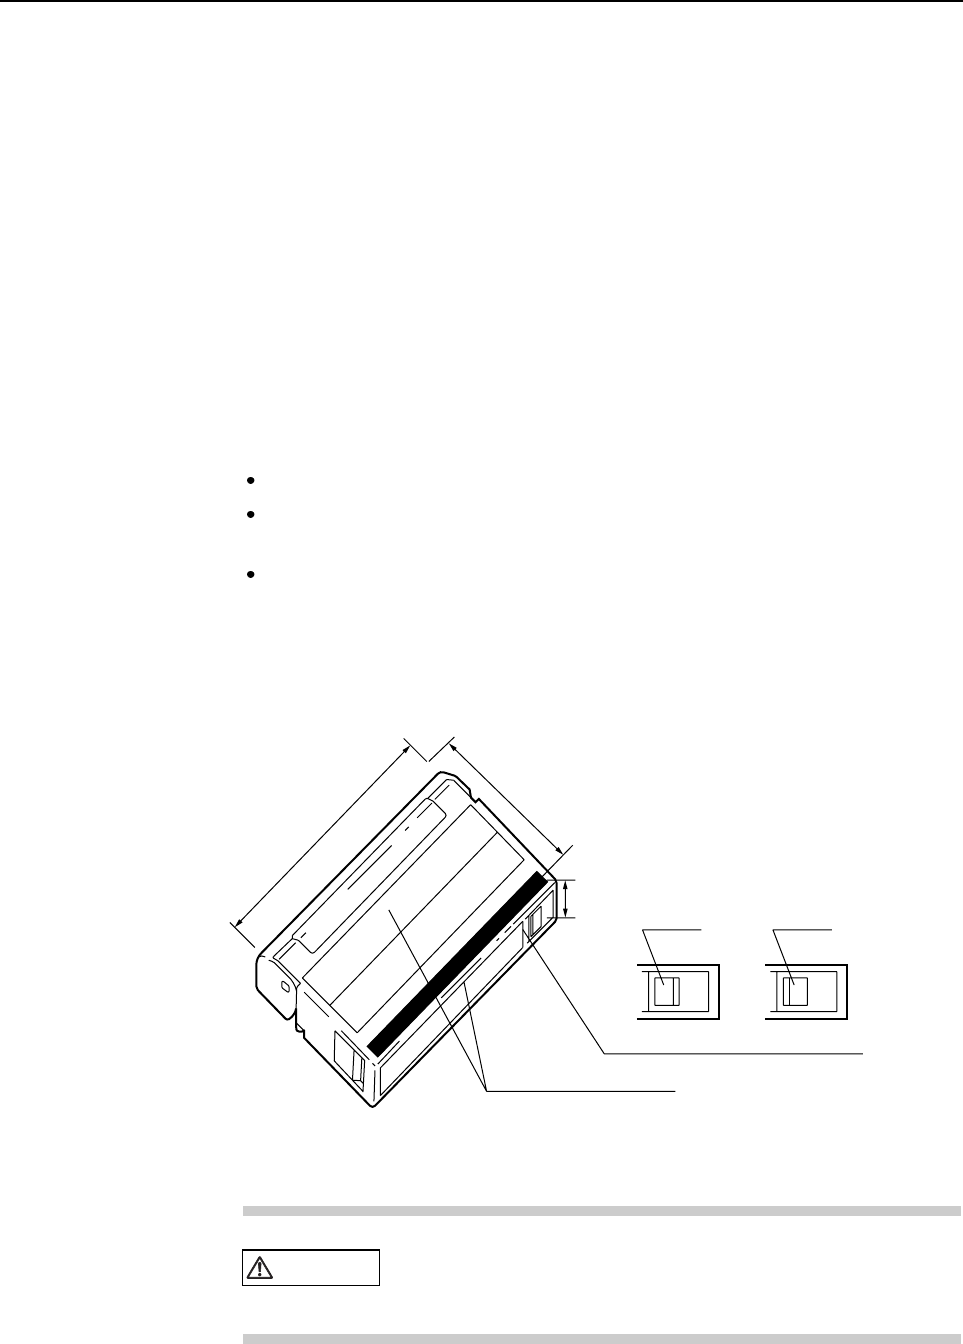
Appearance of the data cartridge
Figure 11.11 shows the appearance of the 8-mm tape data cartridge.
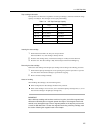
Label application location
Write-enabled Write-protected
Open Close
95
62.5
15
Unit: mm
Figure 11.11 8-mm Tape Data Cartridge
CAUTION
When using or storing the data cartridge, take the following
precautions. If these precautions are not taken, the 8-mm tape unit
or its data may be destroyed.
137