c39 frank
Testing and Adjusting
3-23
3
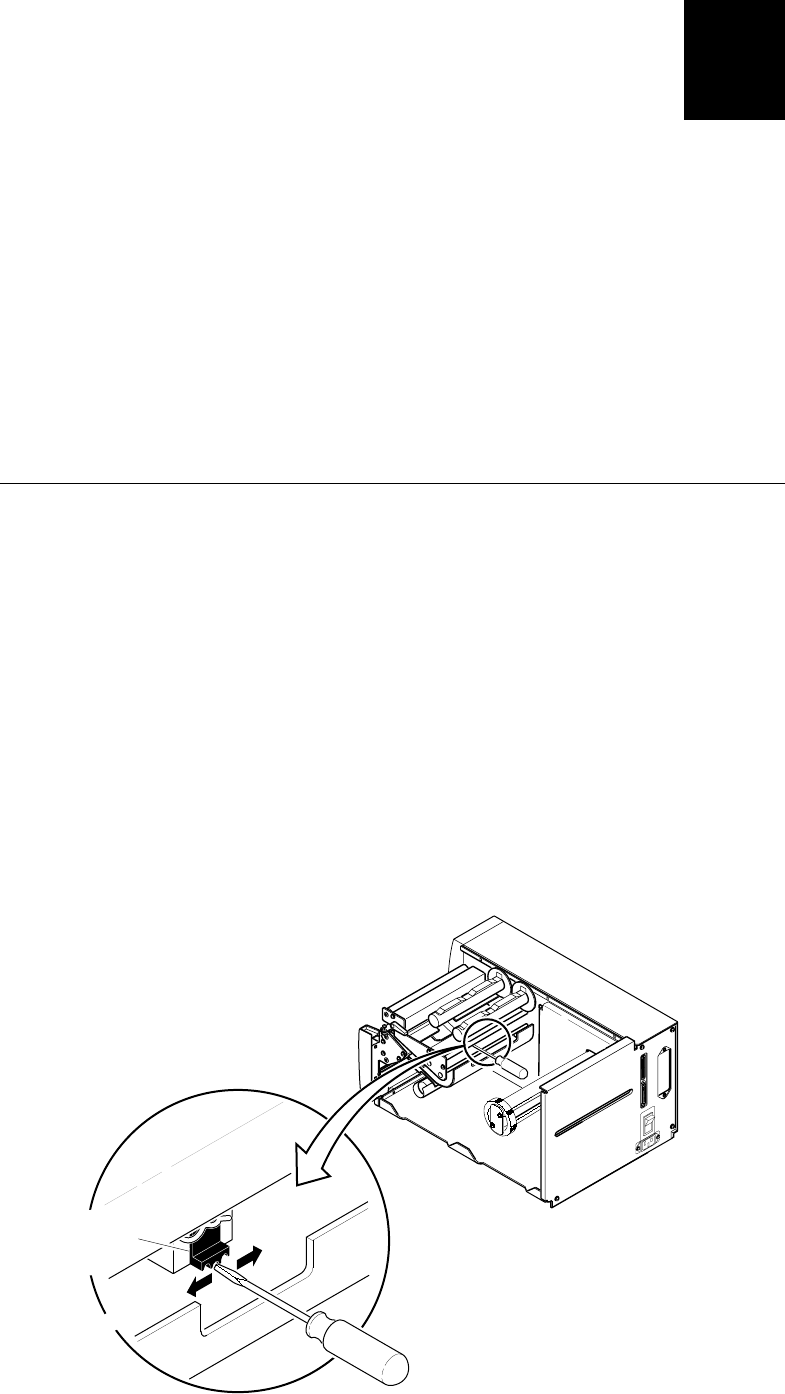
6. When the tool fits properly on all of the rollers and the bushing, tighten the
screws on the outboard plate that you are aligning.
7. Reattach the front bezel cover. Ensure that the media access door operates
properly (snaps firmly shut) after the front bezel cover is installed.
8. Install the electronics cover.
9. Reload media (and ribbon if used).
10. Install the media cover and the power cord.
11. Switch on printer power and check for proper operation.
Aligning the Printhead
Align the printhead only if necessary. To perform this procedure, you need the
following tools:
• Printhead alignment tool, Intermec Part No. T43099
• 9/64-inch Allen screwdriver
To align the printhead
1. Switch off the printer power. Remove the power cord and the media cover.
2. Raise the printhead with the printhead lift lever. Remove media and ribbon.
3. Position the printhead adjustment lever clockwise/left two clicks during
the printhead alignment. Loosen the two Allen screws located on the
printhead yoke at the back of the printhead heatsink.
1 2 3 4 5 6 7 81 2 3 4 5 6 7 8
3600M.039
O
I
moves printhead
backward
Printhead
adjustment
lever
moves printhead
forward