


3600 Printer Maintenance Manual
5-12
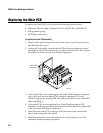
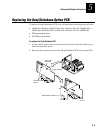
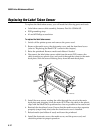
Replacing the Label Taken Sensor
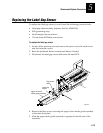
To replace the label taken sensor, you will need the following parts and tools:
• Label taken sensor cable assembly, Intermec Part No. 059496-002
• ESD grounding strap
• #1 and #2 Phillips screwdriver
To replace the label taken sensor
1. Switch off the printer power and remove the power cord.
2. Remove the media cover, the electronics cover, and the front bezel cover
(refer to “Replacing the Bezel PCB” earlier in this chapter).
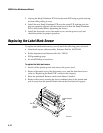
3. Raise the printhead. Remove media and ribbon if loaded.
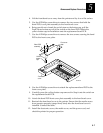
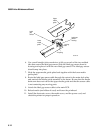
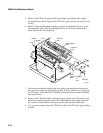
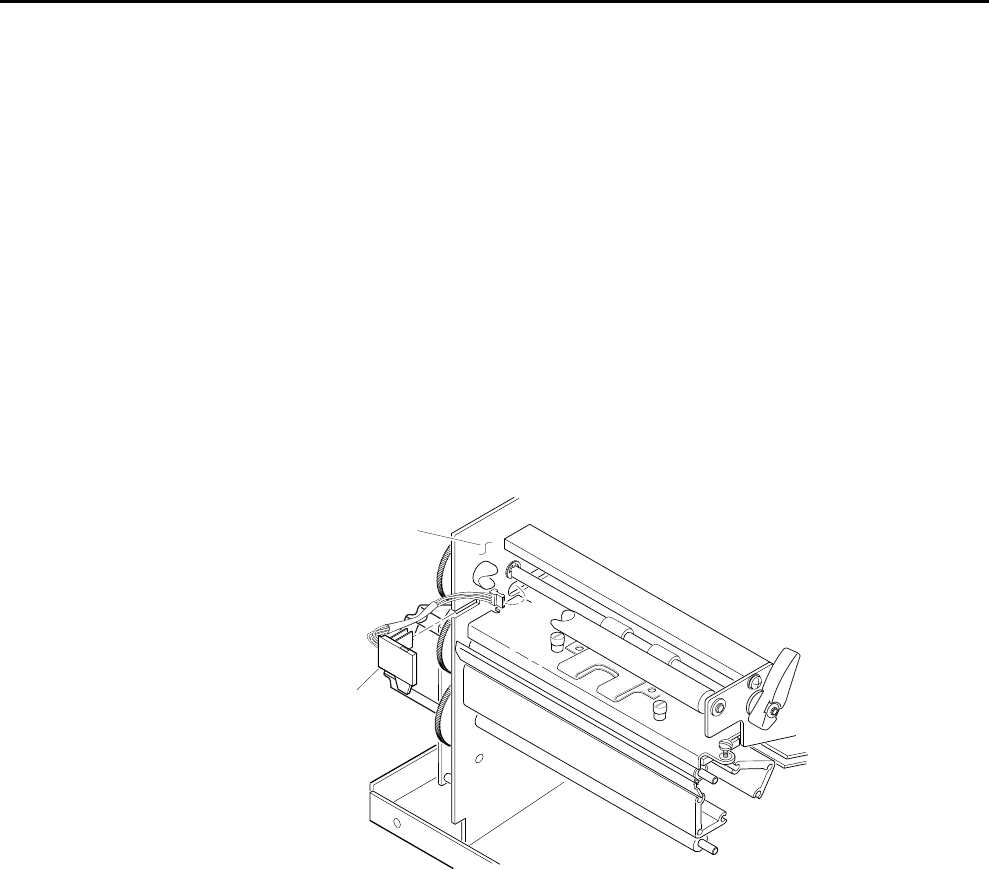
4. Disconnect the label taken sensor cable from the main PCB, remove the
cable from the two plastic clips, and push it through the cutout in the main
deck plate. Slide the sensor housing away from the main deck plate.
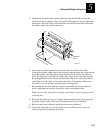
3600M.050
Label taken
sensor
Main
deck
plate
5. Install the new sensor, routing the cable through the cutout in the main
deck plate and plugging it into the main PCB. Place the cable in the plastic
clips with the black sleeve positioned as close as possible to the sensor end.
6. Reattach the front bezel cover. Ensure that the media access door operates
properly (snaps firmly shut) after the front bezel cover is installed.
7. Reload media (and ribbon if used) and lower the printhead.
8. Install the electronics cover, the media cover, and the power cord, and
check the printer for proper operation.