


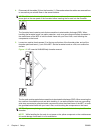
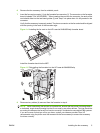

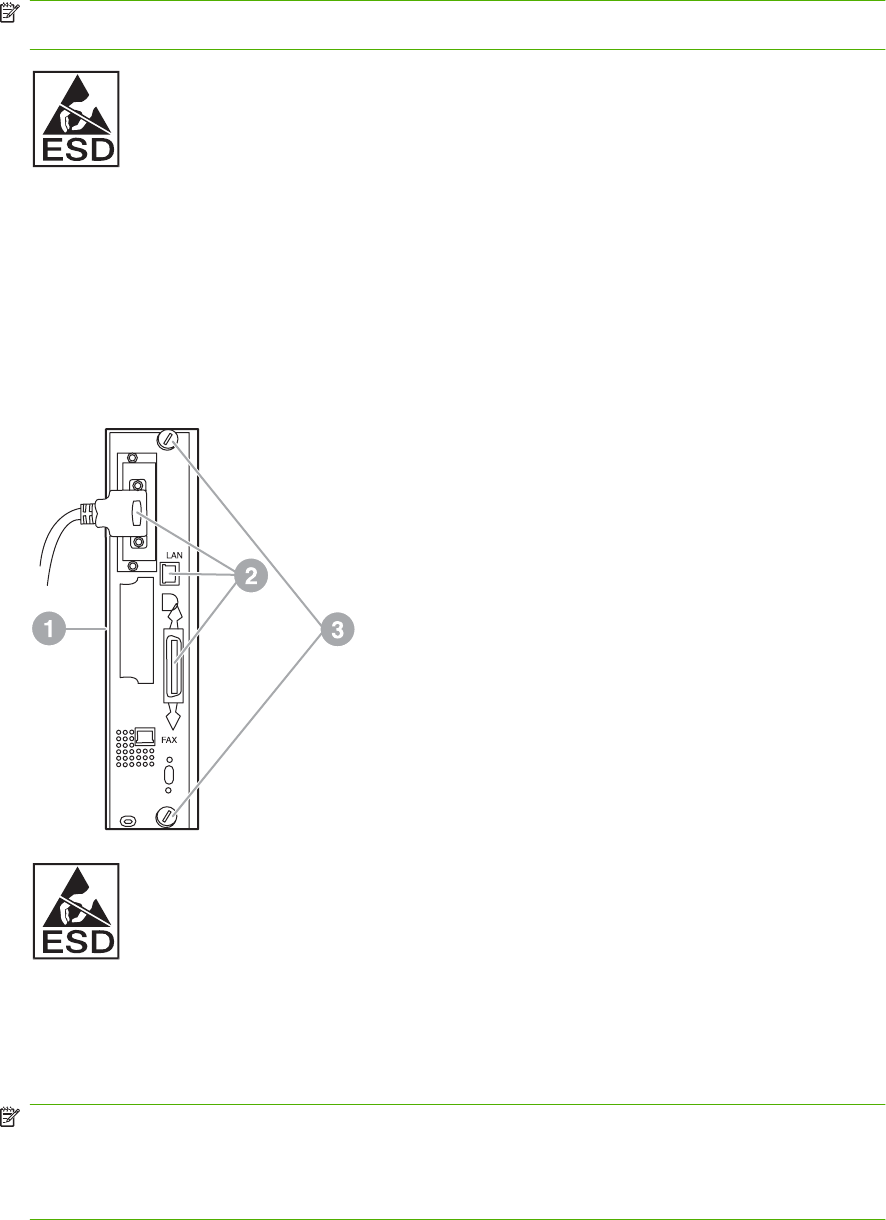
4. Disconnect all the cables (2) from the formatter (1). Remember where the cables are removed from
to ensure that you reinstall them in the same locations.
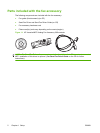
NOTE: If this is the first time the fax is installed, remove the small cover over the opening for the
phone jack on the rear panel of the formatter before inserting the fax card into the formatter.
The formatter board contains parts that are sensitive to electrostatic discharge (ESD). When
handling the formatter board, use static protection, such as a grounding wrist strap connected to
the metal frame of the MFP or hold the metal frame with your hand. Also, avoid touching the
components on the board.
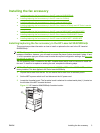
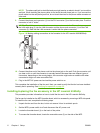
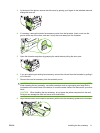
5. Loosen two captive thumb-screws (3) at the top and bottom of the formatter plate, and pull the
formatter plate and board (1) out of the MFP. Set the formatter board on a flat, non-conductive
surface.
Figure 1-3 HP LaserJet 9040/9050mfp formatter removal
The fax card contains parts that are sensitive to electrostatic discharge (ESD). When removing the
fax card from its antistatic pouch and while installing it, use static protection such as a grounding
wrist strap connected a grounded metal component such as the metal frame of the MFP, or touch
the grounded metal frame with your hand. Also, avoid touching the components on the board.
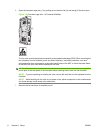
NOTE: If you are replacing an existing fax card, remove the card that is to be replaced from the
formatter.
NOTE: While handling the fax card, do not press on the yellow component on the card because
this could damage it and result in a fax malfunction.
4 Chapter 1 Setup ENWW