


Set the Printhead and Camera Height 5-13
Setting the Head Height 1. Load the media that you want to calibrate.
For instructions, see “Loading Roll-Fed Media” on page 3-16.
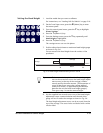
2. On the Front Page screen, press the (Menu) key to enter
the menu system.
3. From the control panel menu, press the ) key to highlight
Printer Settings.
4. Press the (Menu In) key.
5. From the Settings menu, press the ) key repeatedly until
Head Height is highlighted.
6. Press the (Menu In) key.
The carriage moves out over the platen.
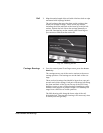
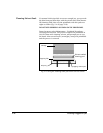
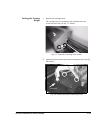
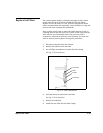
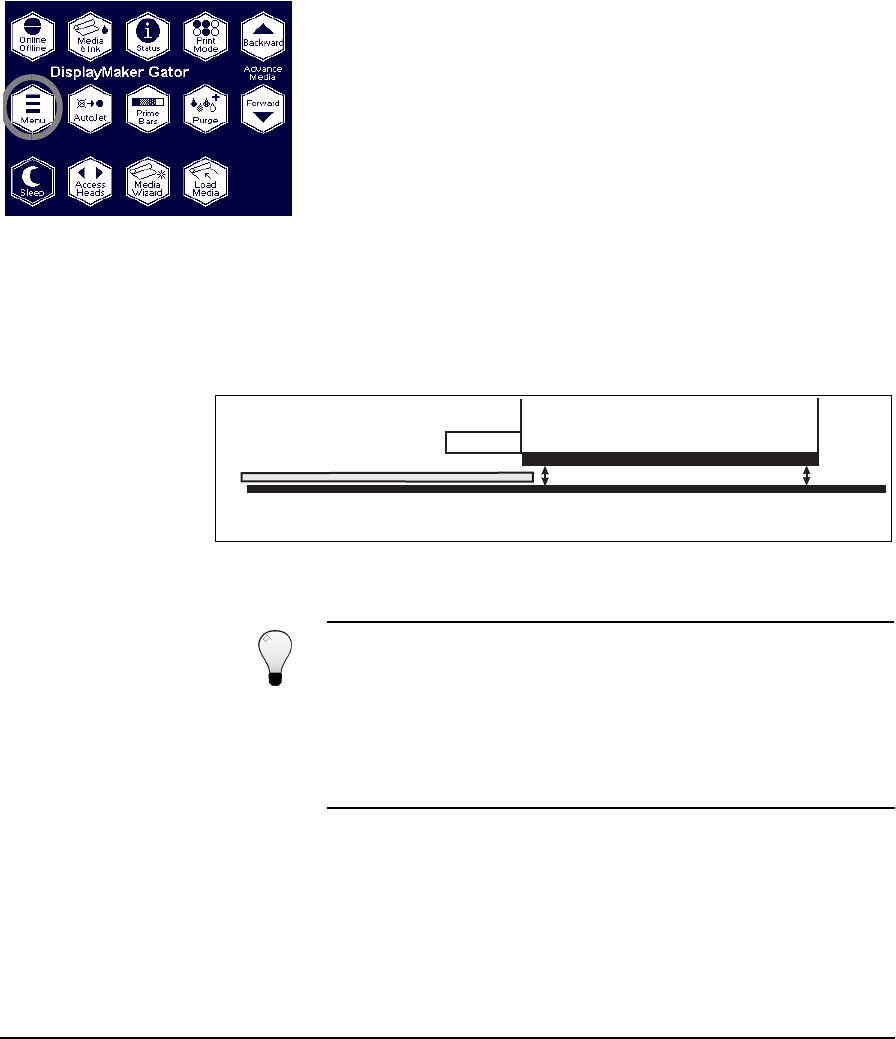
7. Position either the minimum or maximum head height gauge
as shown in Fig. 5-6.
Do not measure the head height from the surface of the
postheater.
Tip
To lower or raise the printheads without the gauge,
use two hex wrenches to turn the head height adjust-
ment screws (at the top of the carriage) simulta-
neously and by the same amount. (Three-quarters of
a turn of the screws moves the carriage approxi-
mately 0.03 inches, or approximately the distance
between the min and max head height gauges.)
Then go to step 1 to set the camera height.
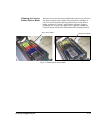
8. Use the supplied hex wrench to turn one of the head height
adjustment screws counterclockwise until the end of the
gauge will not fit under the carriage as shown in Fig. 5-6.
The head height adjustment screws can be accessed from the
top of the carriage. The access holes are labeled with a white
circular label.
Fig. 5-6. Head height measurement points A and B
A
B
Carriage
Platen
Gauge
Media