


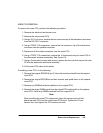
6-5Removal and Replacement
DRAM SIMM AND ROM MODULE REMOVAL
To install or remove and replace a module, perform the following steps:
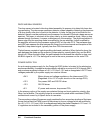
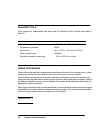
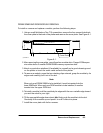
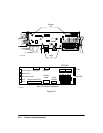
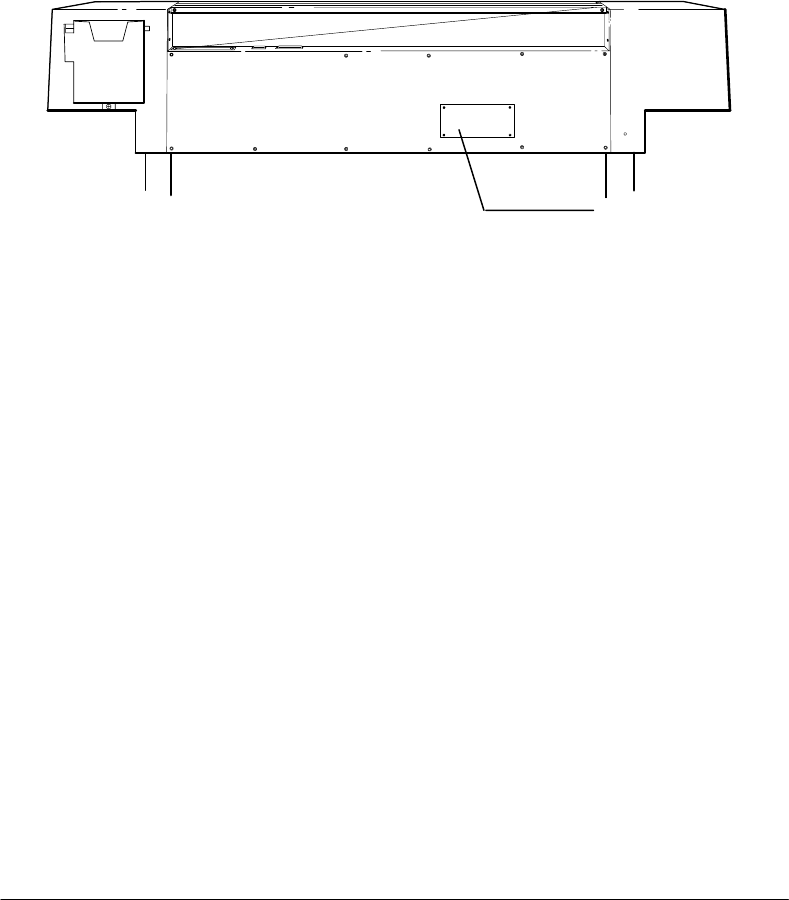
1. Using a small flat blade or Torx T10 screwdriver, remove the four screws that attach
the cover plate to the back of the plotter and remove the cover plate. See Figure 6-1.
Cover Plate
Figure 6-1.
(C)C2858-32
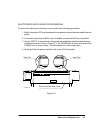
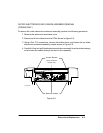
2. After removing the cover plate, you will see four module slots: 2 larger ROM expan-
sion slots above 2 smaller DRAM SIMM memory expansion slots.
3. Attach a conductive wristband (if available) to yourself and a good chassis ground
on the plotter or touch the outer metal surface of the plotter.
4. To remove a module, press the two retaining clips outward, grasp the module by its
edges and carefully pull it out of the slot.
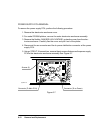
Note
When only one DRAM SIMM is to be installed, it must be inserted into the
lower SIMM slot. When only one ROM module is to be installed, it must be
inserted into the upper ROM slot.
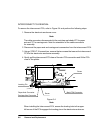
5. To install a module, hold the module by its edges with the non–metallic edge toward
you and the notch to your right.
6. Tilt the non-metallic edge down about 45 and firmly push the module into the slot.
Gradually tilt the module up and push it in until it clicks into place.
7. Install the cover plate with its four screws.