


6-14 Removal and Replacement
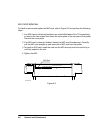
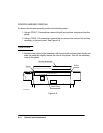
WINDOW ASSEMBLY REMOVAL
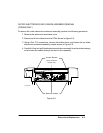
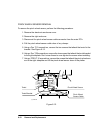
To remove the window assembly, perform the following steps:
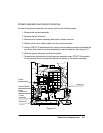
1. Using a TORX T-15 screwdriver, remove the left and right rear trim pieces from the
plotter.
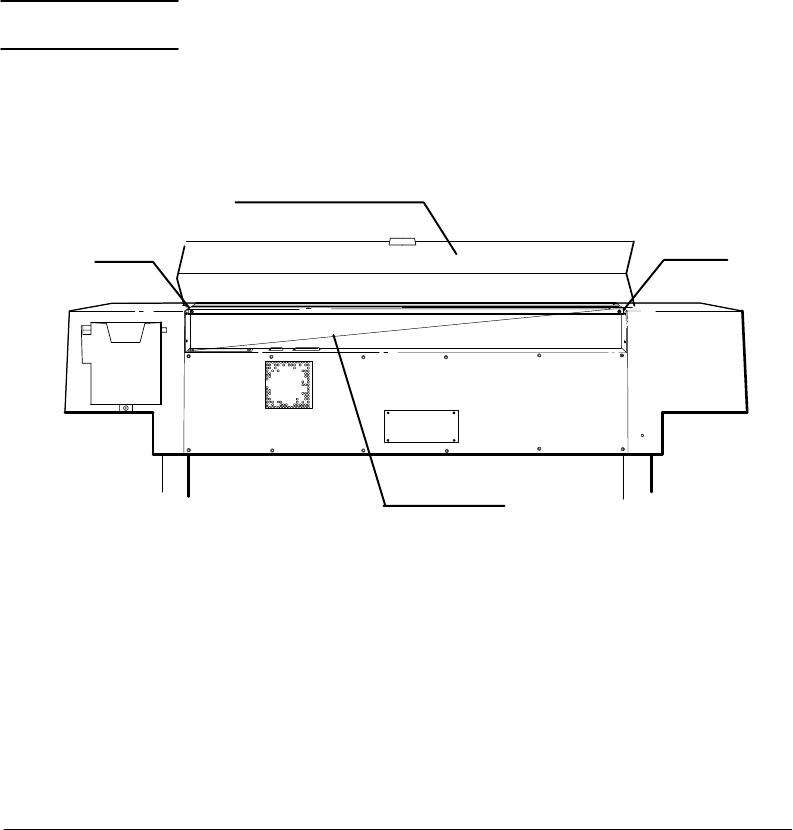
2. Using a TORX T-15 screwdriver, remove the two screws that connect the window
assembly to the back panel. See Figure 6-9.
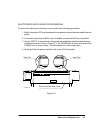
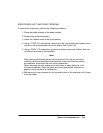
C A U T I O N
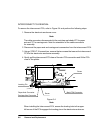
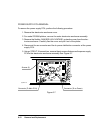
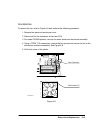
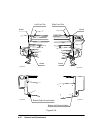
3. Raise the rear portion of the assembly until the front portion drops down slightly and
slide the assembly slightly toward the front of the plotter. Then lift the assembly
clear of the plotter.
Window Assembly
Back Panel
Screw
Screw
Figure 6-9.
(L)C2858-32d