


After you select a destination, click Scan to start the scan.
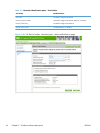
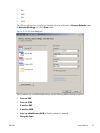
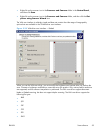
Click the Advanced Settings link to open the Advanced Settings dialog box, where you can
create, change, or delete the destination options that are available.
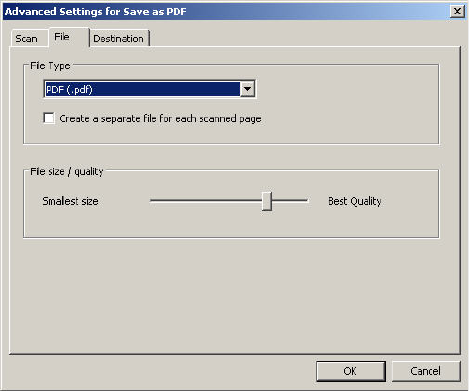
Figure 2-33 Advanced Settings dialog box
Many of the dialog boxes in the HP Scan software contain the following four common buttons:
●
Click the Back button to return to the previous dialog box.
●
Click the Next button to go to the next dialog box.
●
Click the Cancel button to cancel the creation or deletion of a scan destination.
●
Click the Help button to gain access to context-sensitive help for the dialog box.
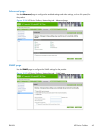
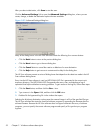
The HP Scan software presents a series of dialog boxes that depend on the selections made in the HP
Scan software dialog boxes.
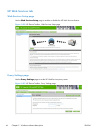
Every time the HP Scan software is used, an HPPSCAN6.LOG file is generated in the current user's
temporary directory. The HPPSCAN6.LOG file appends after every scan, and develops a log of
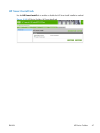
operations that helps troubleshoot scanning problems. To gain access to the log file, follow these steps:
1. Click the Start button, and then click the Run... item.
2. Type %TEMP% in the Open: field, and then click the OK button.
3. Double-click the hppscan6.log file in the window that opens.
Selecting the third-party destination option saves the scanned image in a file of the specified file type.
The HP Scan software then starts the specified software program by appending the filename after the
software filename. Because the HP Scan software does not support automatic discovery of software
programs, you must specify the correct software program and specify a file type that your program
supports.
52 Chapter 2 Windows software description ENWW