scale: 1/4" = 1"
Scale:
3/8" = 1"
scale: 1/4" = 1"
25188a
2
1 43
7
5
8
9
6
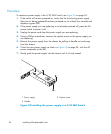
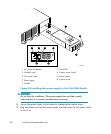
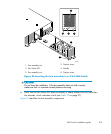
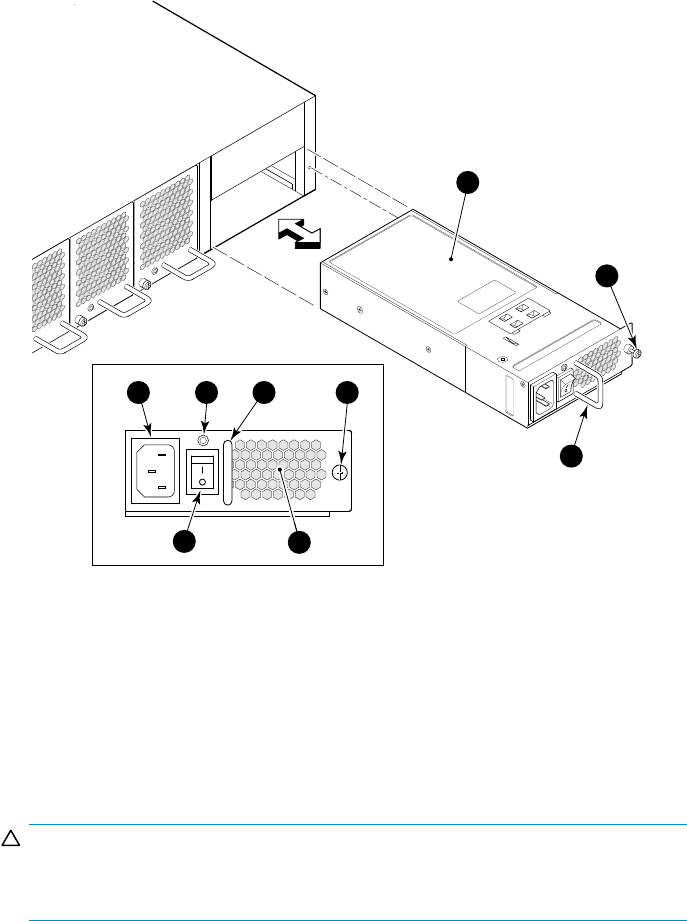
1. AC power receptacle
2. Status LED
3. Handle (inset)
4. Captiv
escrew(inset)
5. AC power switch 6. Power supply
7. Powe r su pp ly
8. Captive screw
9. Hand
le
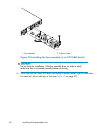
Figure 34 Installing the power supply in the 4/64 SAN Switch
CAUTION:
Do not force the installation. If the power supply does not slide in easily,
make s
ure that it is correctly oriented before continuing.
8. Secure the power supply to the chassis by tightening the captive screw.
9. Plug the power cord into the power supply and then press the AC power switch
to turn it on.
102
Installing field-replaceable units


