


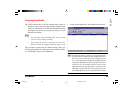

Fast Ethernet
7100e+
80
NetWare 4.1 Print Server Mode (Bindery)
NetWare 4.1 has a NDS network and a bindery network.
Bindery Network
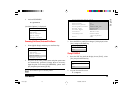
In order to use NetWare 4.1 print server mode with bindery, it is
necessary to set up the file server and Fast EtherNet.
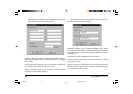
• To use the bindery service, it is essential to specify the
bindery context in the file server. Make the following
settings from the server console in advance:
For Bindery Context OU=SOFT22.O=ENG7
set Bindery Context = OU=SOFT22.O=ENG7
• For using the NetWare4.1 print server mode via the
NDS network, see “Starting PCONSOLE through NDS”
earlier in this chapter.
• For the NetWare 4.1 remote printer mode, see “NetWare
4.1 remote printer mode” later in this chapter.
• For using NetWare 3.1, see NetWare 3.1 environment
later in this chapter.
The following description uses NetWare 4.1 as an example. Some
of the screen shots and options may vary depending on the OS
version and system configuration.
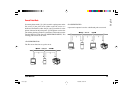
In this example, the Fast EtherNet is connected to the NetWare
NDS tree “ODCSOFT”, the admin user context “ENG7”, the
context “SOFT22.ENG7” for creating a print server, and the file
server “SOFT22-NW4”.
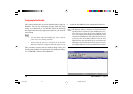
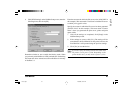
Starting PCONSOLE on Bindery
For the purpose of this example we will use F: as the network
drive name for logging in to the NetWare server.
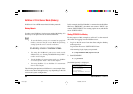
1 Log in to the file server from the client using the bindery
mode supervisor.
Log in to the file server “SOFT22-NW4” here.
After entering Login, input your password.
F:\>LoginSOFT22-NW4/supervisor/B
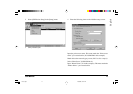
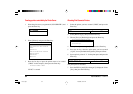
2 Start PCONSOLE.
F:\> pconsole
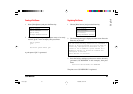
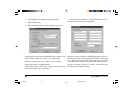
[Available Options] is displayed.
Available Options
Print Queues
Print Servers
Quick Setup
Change NetWare Server
7100e+.p65 25/08/99, 20:51 PM80