


User Manual 83
English
Restarting PCONSOLE on NDS Mode
The following configuration is required in order to make the
queue generated in bindery mode available to other context
users in NDS mode.
If other NDS context users do not need to use the device then
the following configuration is not required. Proceed to “Setting
Fast EtherNet”.
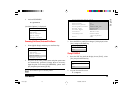
1 Press the ESC key until [Exit?] is displayed on the screen,
then select [Yes] and press Enter.
2 Log out from the file server.
F:\> Logout
3 Using the CX command, go to the directory where admin is
to be found (“ENG7” in this example).
F:\> cx ENG7
4 Log in again to the file server (“SOFT22-NW4”) in NDS
mode as admin.
After entering Login, input your password.
F: >\Login SOFT22-NW4/admin
5 Using the CX command, go to the directory you specified in
the bindery context (“SOFT22”).
F:\>cx SOFT22
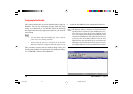
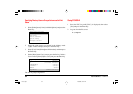
6 Start PCONSOLE
F:\>pconsole
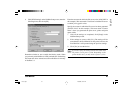
[Available Options] is displayed.
Creating a Printer
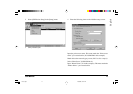
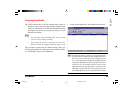
1 Select [Printer] and press the Enter key.
2 Press the Ins key and input the printer name you created in
bindery mode (“OP8C” in this example), then press the Enter
key.
Printer: OP8C
“OP8C” is created.
Allocating Print Queue to Printer
1 Select the printer you created (“OP8C”) and press the Enter key.
2 Select [Banner Type] and then press the Enter key.
3 Select [Text] or [PostScript] and press the Enter key.
4 Select [Allocate Print Queue] and press the Enter key.
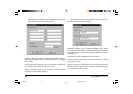
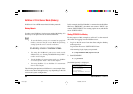
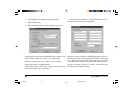
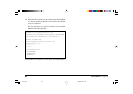
5 Press the Ins key, select the print queue you created in the
bindery mode(“Q-8C”in this example) from the [Object,
Class] and press the Enter key.
Object, Class
....* (Parent)
Q-8C (Print Queue)
The print queue is allocated.
6 Press the ESC key until [Save changes?] appears on the
screen, select [Yes], then press the Enter key.
7100e+.p65 25/08/99, 20:51 PM83