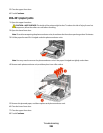
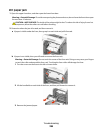
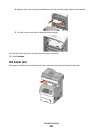
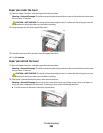
3 Firmly shake the cartridge side-to-side and front-to-back several times to redistribute toner.
4 Reinsert the cartridge, and then touch Continue to clear the message and continue printing.
Note: Repeat this procedure multiple times until the print remains faded, and then replace the cartridge.
88 <color> cartridge low
1 Order a replacement toner cartridge immediately.
2 Remove the specified cartridge.
3 Firmly shake the cartridge side-to-side and front-to-back several times to redistribute toner.
4 Reinsert the cartridge, and then touch Continue to clear the message and continue printing.
Note: Repeat this procedure multiple times until the print remains faded, and then replace the cartridge.
840.01 Scanner Disabled
This message indicates that the scanner has been disabled by the system support person.
840.02 Scanner Auto Disabled
The printer identified a problem with the scanner and automatically disabled it.
1 Remove all pages from the ADF.
2 Turn the printer off.
3 Wait 15 seconds, and then turn the printer on.
Note: If turning the printer off and then on again does not clear the message, then contact your system support
person.
4 Place the document in the ADF, and then adjust the paper guides.
5 On the home screen, touch Copy, or use the keypad to enter the number of copies.
6 Change the copy settings as needed.
7 Touch Copy It.
900–999 Service <message>
1 Turn the printer off.
2 Unplug the power cord from the wall outlet.
3 Check all cable connections.
4 Connect the power cord to a properly grounded outlet.
5 Turn the printer back on.
If the service message appears again, contact Customer Support, and report the message.
Troubleshooting
261


