


2Unpacking to Installation
Installation
2-11
Carry out the following procedure after installing the controller referring to the separate "Controller Setup, Basic
Operation
and Maintenance" manual.
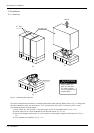
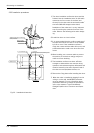
1) Make sure that the power switch on the front of the
controller is turned OFF.
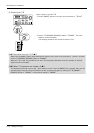
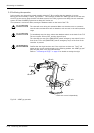
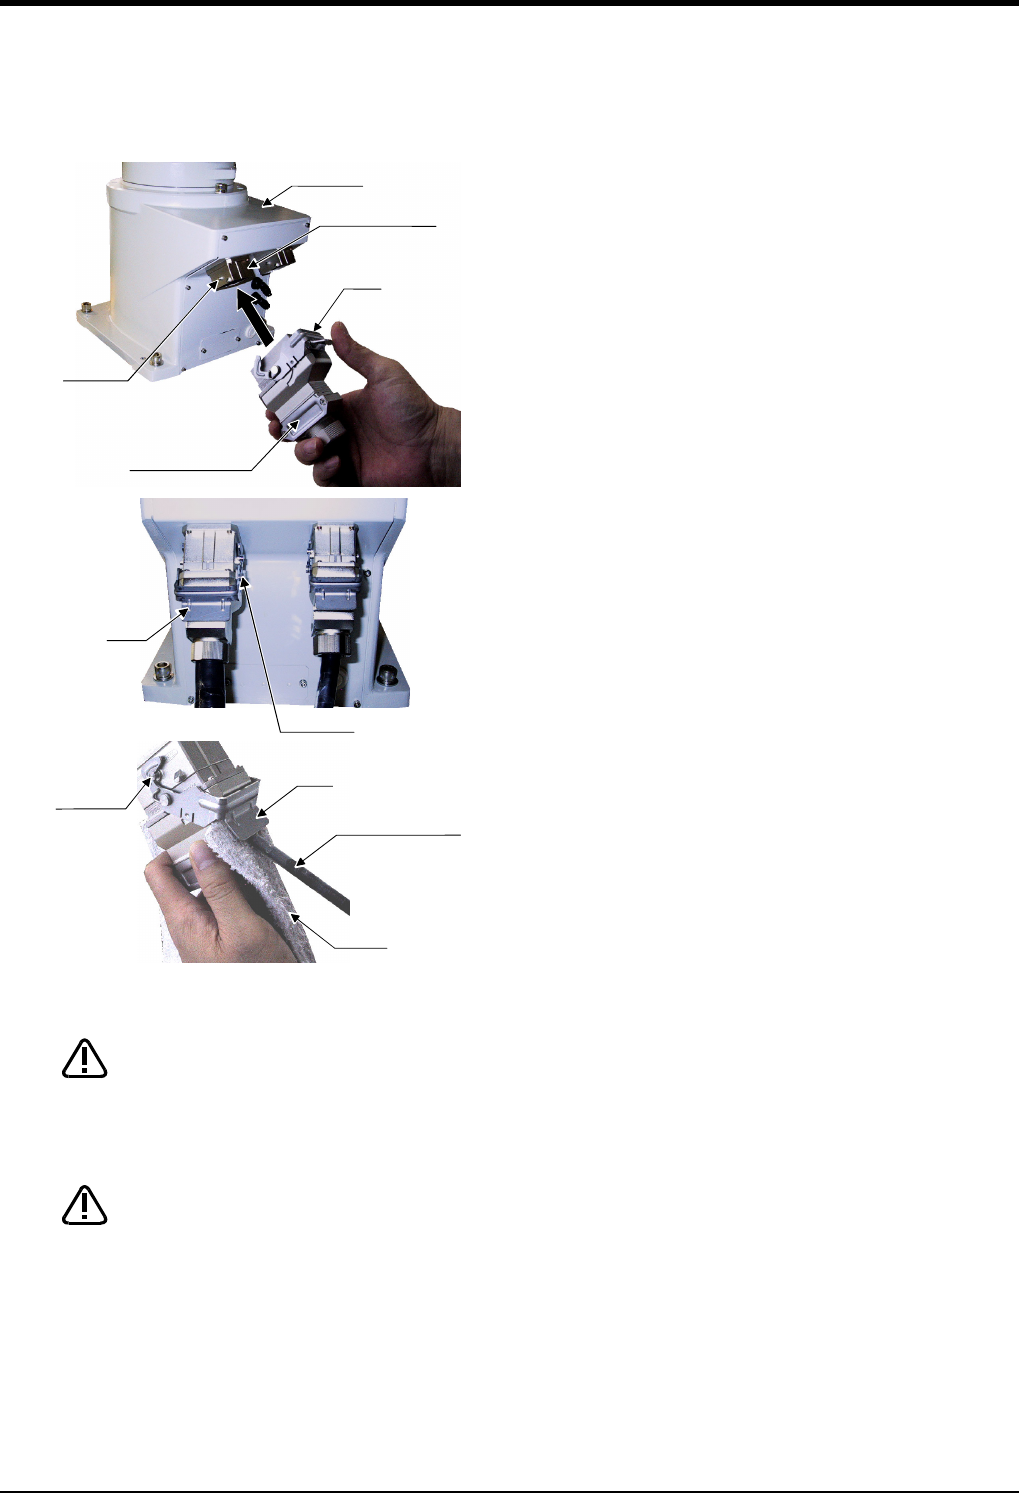
2) Connect the machine cable to its corresponding connector
on the robot arm side.
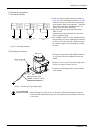
3) After connecting the connector, insert the hook attached
to the connector on the machine cable side to the rear of
the projection of the robot arm connector to fix securely in
place.
* If you are using a CR2B-574 controller, also connect the
applicable connector on the controller side according to
steps 2) and 3) above.
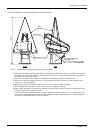
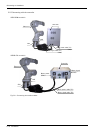
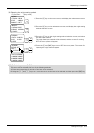
4) To remove the cable, insert a minus screwdriver into the
hook while padding with a cloth, and remove the cable by
lifting the hook.
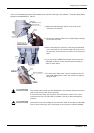
The machine cable connectors are dedicated for the controller side and robot arm
side, so take special care when connecting.
If connected incorrectly, the connector pins could bend or break. Thus, even if
connected correctly, the robot will not operate correctly, creating a dangerous
situation.
Take special care to the leading of the connection cable. If the cable is pulled with
force or bent excessively, wires could break or the connector could be damaged.
Hook
Connector on the
machine cable side
Robot arm
Connector on the
robot arm side
Projection
Hook
Projection
Hook
Minus screwdriver
Padding
Projection
CAUTION
CAUTION