


5Maintenance and Inspection
Resetting the origin
5-55
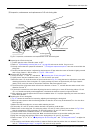
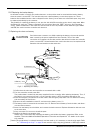
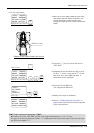
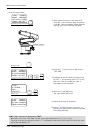
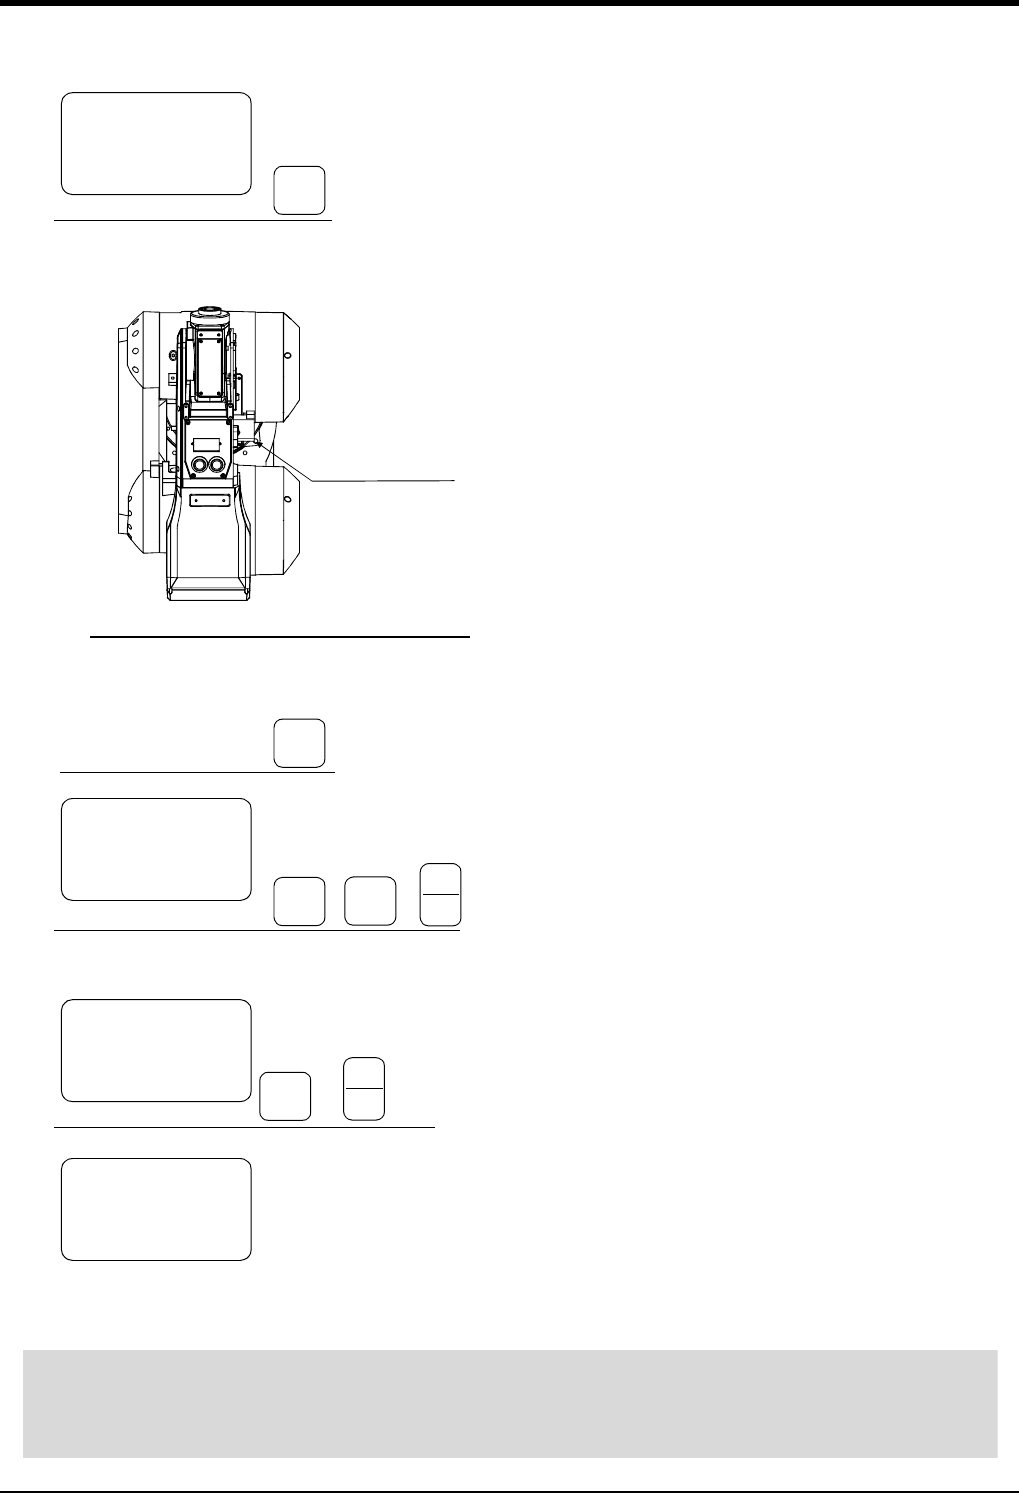
(1) J1 axis origin setting
1) Move the J1 axis slowly toward the front using
both hands. Align the pinhole of the No.1 arm
and the pinhole at the base section, feed
through the origin jig (φ8) into the pinholes and
fasten.
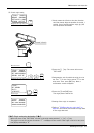
2) Press the [ ↓ ] key. The cursor will move to
"SET AXIS".
3) Designate the axis for which the origin is to be
set.
. Set "1" for the 1 axis, and set "0" for the
other axes. Then, press [INP] key. Next, a
confirmation screen will appear.
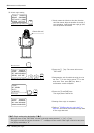
4) Press the [1] and [INP] keys.
The origin posture will be set.
5) Setting of the origin is completed.
6) Refer to "5.5.4Recording the origin data" on
page 65 in this manual, and record the origin data
on the origin data seal.
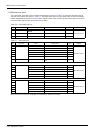
Designate the origin setting axis
-B
(J5)
1
DEF
-C
(J6)
0
ABC
・
→
INP
EXE
Set the origin
-B
(J5)
1
DEF
INP
EXE
→
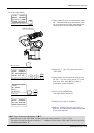
Designate the origin setting axis
-B
(J5)
1
DEF
Move the cursor
RPL
↓
<TOOL> 12345678
BRAKE (00000000)
SET AXIS(10000000)
ORIGIN :NOT DEF
<TOOL> 12345678
BRAKE (00000000)
SET AXIS(11110000)
ORIGIN :NOT DEF
<TOOL>
SET ORIGIN
OK?(1)
1:EXECUTE
<TOOL> 12345678
BRAKE (00000000)
SET AXIS (10000000)
ORIGIN :COMPLETED
Pinhole (J1 axis)
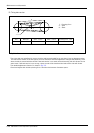
Diagram of the robot viewed from the top
◇◆◇ Origin setting axis designation ◇◆◇
Move the cursor to the "SET AXIS" axis No. in the origin setting with the [ ← ] or [ → ] key.
The origin is set only for the axis for which a "1" is displayed on the screen. If the origin is not to be set, press
the [0] key and display a "0".