


PRINTER NOTE: Page size 9” x 9.25”. Align this page to top, right hand corner. Back box bleeds off
top and right edge. Left side of page extends to 9.25 inches.
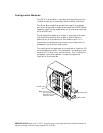
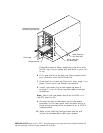
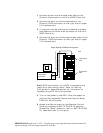
2 Locate the two support brackets. Mount the two
brackets to the rack cabinet verticals using the four
screws, two washers, and caged nuts provided. The
bracket has a slotted hole and a countersunk hole.
Mount the slotted hole on the rear vertical. The
slotted hole receives a “pan head” screw with a
washer and the countersunk hole receives a “flat
head” screw.
Note: The caged nuts are secured into the rack cabinet
vertical slots by inserting one side of the nut into the
slot and squeeze while pressing the opposite side until
it snaps into place.
3 Install the caged nuts that will secure the front
bezel in step (6) prior to inserting the DEU into the
rack assembly.
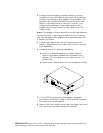
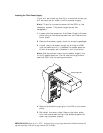
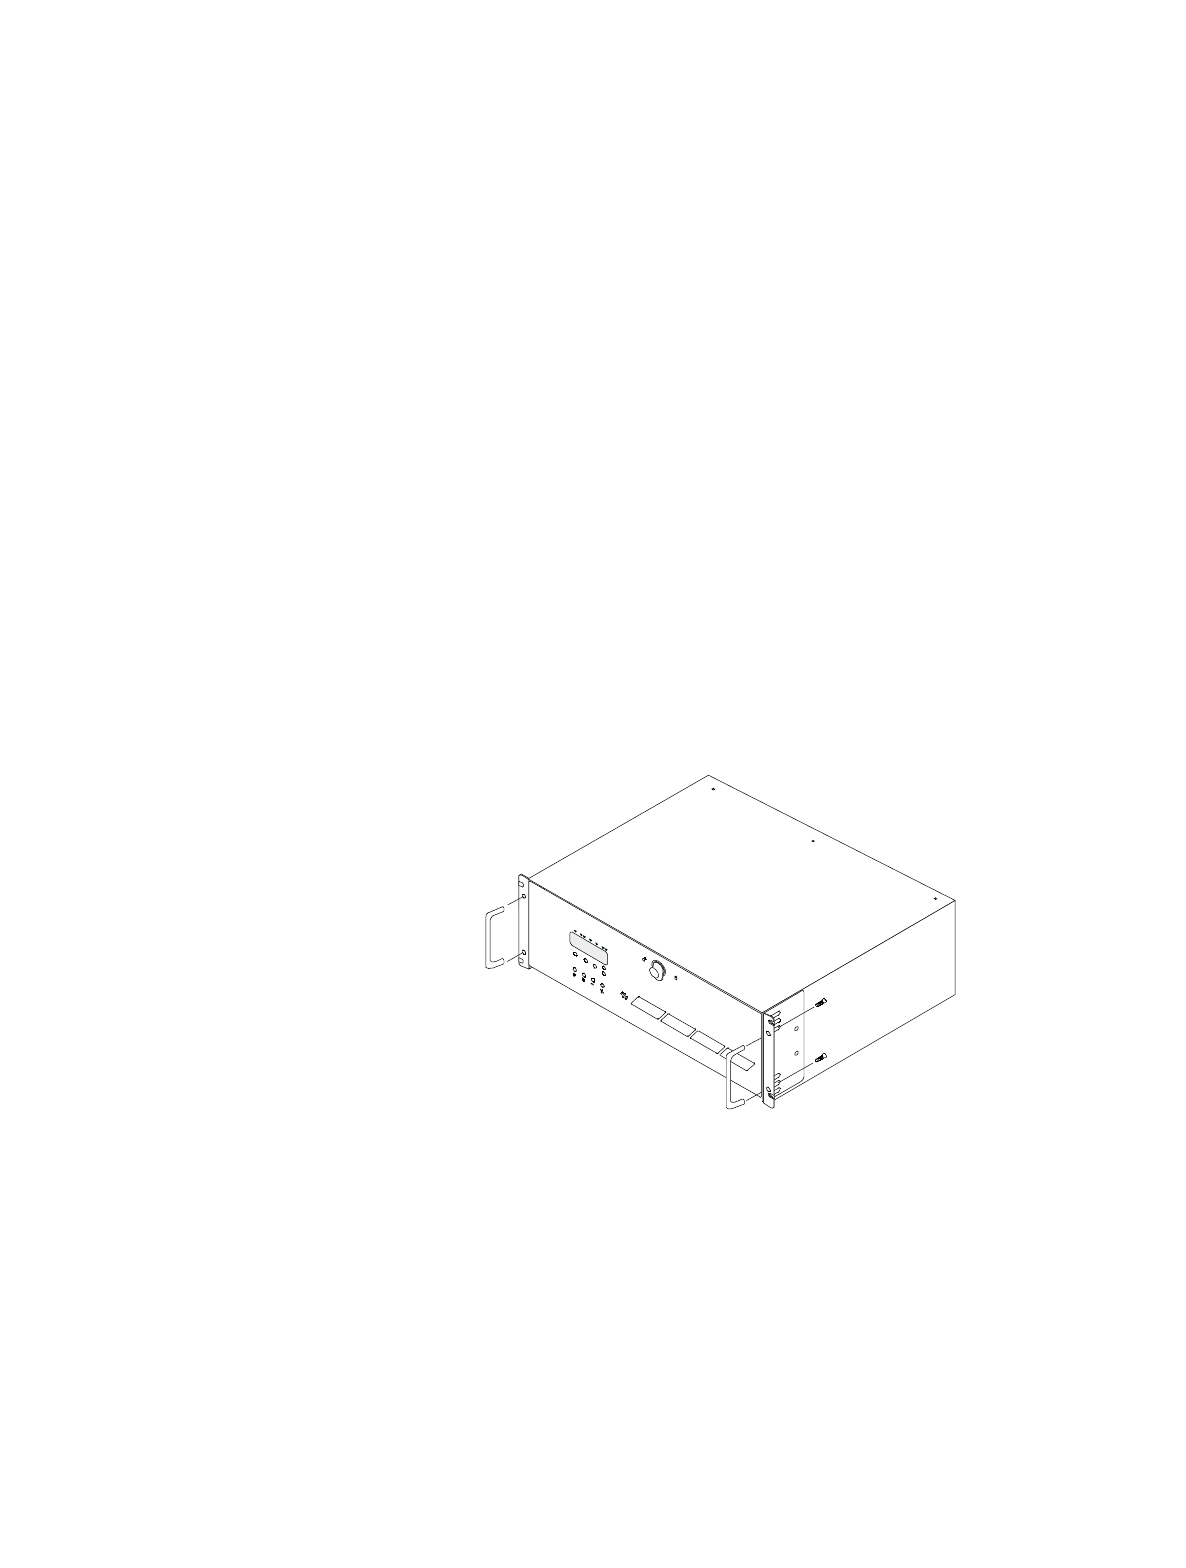
4 Locate the two “D” handle assemblies.
a Position a handle assembly on each handle
mounting bracket located on the sides of the
cabinet. The handles are universal and will fit
either side.
b Secure the handles with the two screws provided.
5 Lift the DEU up and onto the support brackets
previously installed in step 2. Slide the DEU toward
the rear of the rack cabinet.
6 Secure the front bezel to the rack verticals using the
four screws and plastic washers provided.