


PRINTER NOTE: Page size 9” x 9.25”. Align this page to top, right hand corner. Back box bleeds off
top and right edge. Left side of page extends to 9.25 inches.
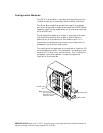
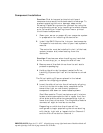
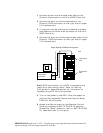
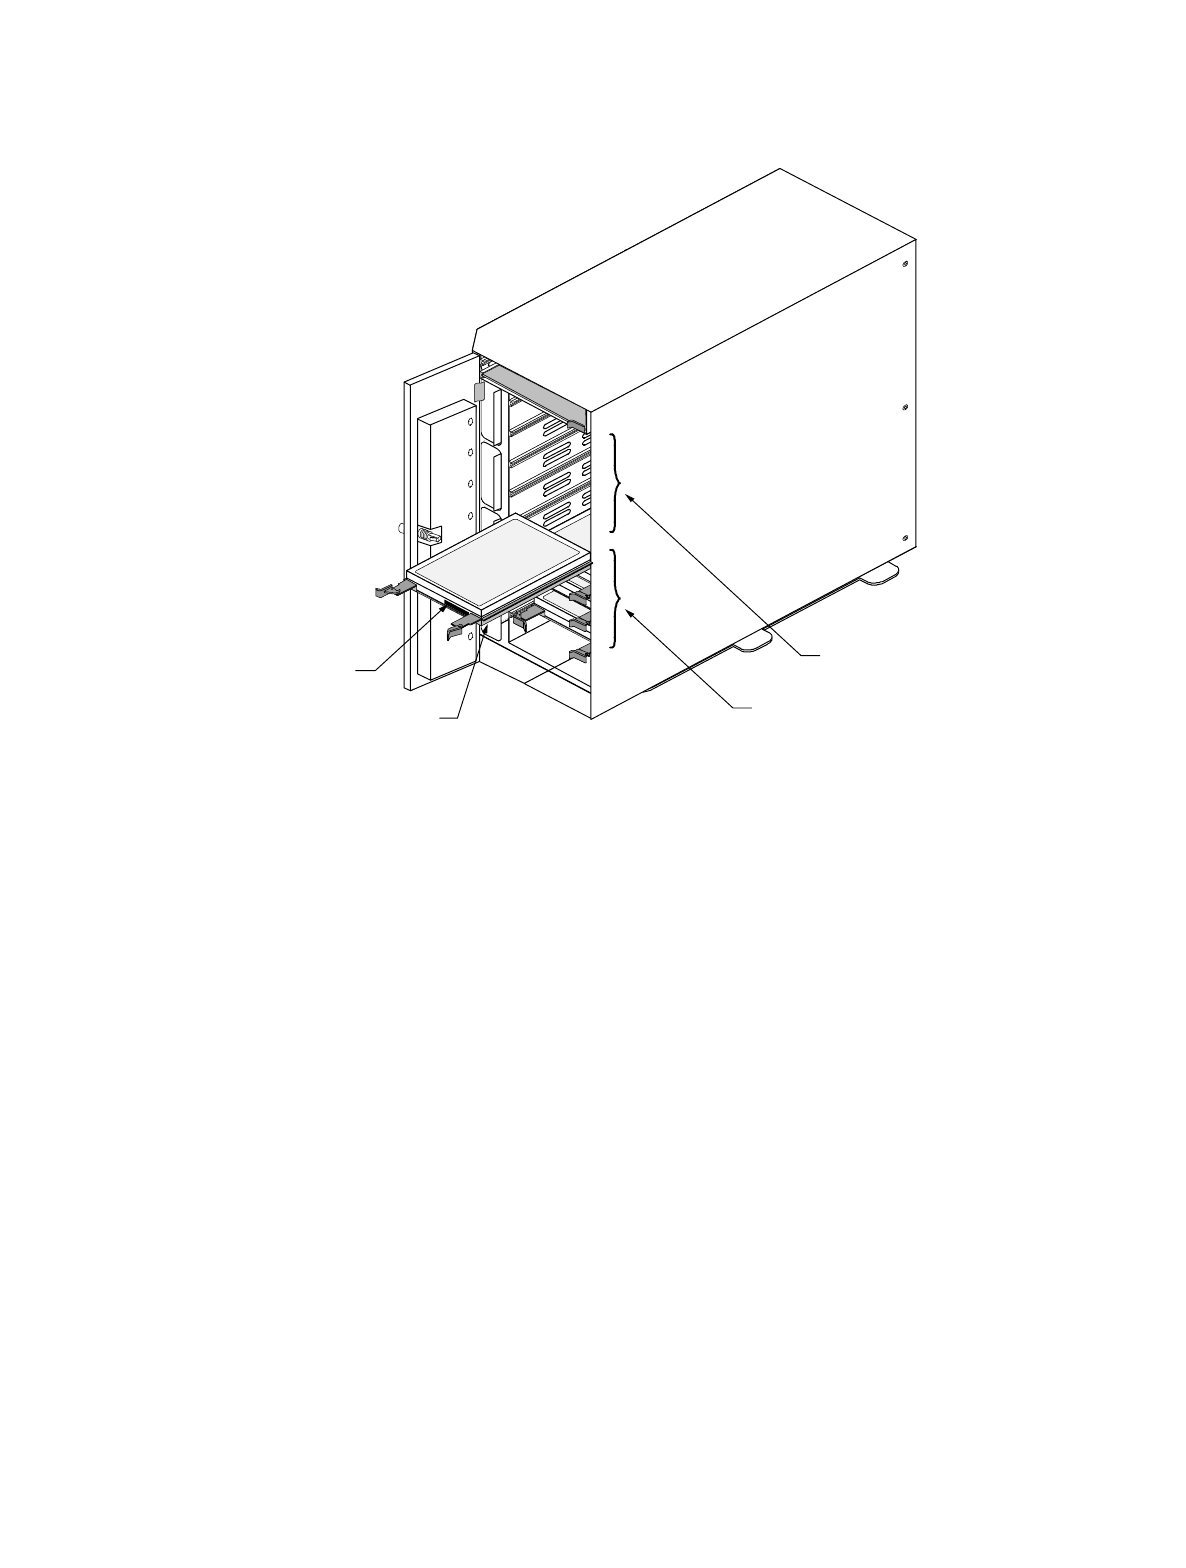
Lower (right) bay,
four drive slots
Drive Label
Component side
Populate drive bays from
the lower (right) slot first.
Upper (left) bay,
four drive slots
Single-Bus module: Begin populating the drive with
the far right slot or lowest slot and work to your left
or up.
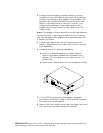
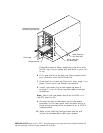
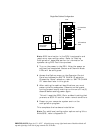
6 Fully seat the drive by applying light pressure with
your thumb to the front of the drive.
7 Press the Drive Latching Clips until they ‘snap ‘ into
place. The drive is now locked into position.
8 Install the remaining drives repeating steps 3
through 7, until all the drives have been installed,
as desired.
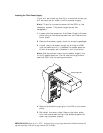
Note: Verify that the power switch on the DEU is in
the OFF position (
O
).
9 Connect one end of the power cord to the power
connector on the rear panel and the other end to a
three-hole grounded outlet or power strip. A UPS is
recommended.
10 Refer to the Cabling Configuration section and
follow the procedures to cable your system.