


C2928M-A (4/07) 11
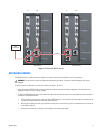
BUILDING A WALL: SECOND ROW AND UP
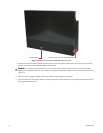
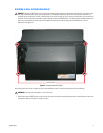
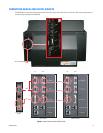
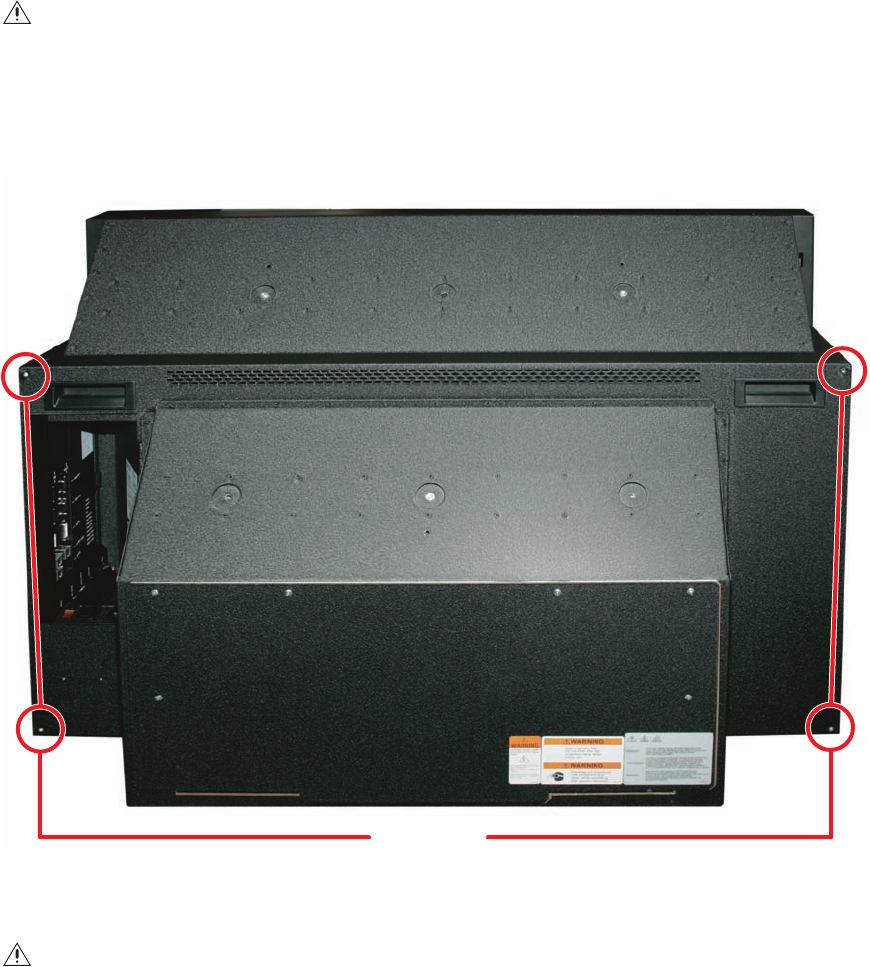
Figure 2. Tie-back Connection Points
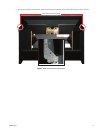
After verifying that the first row is straight and solid, continue building the wall. To continue building the wall, do the following:
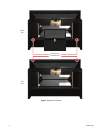
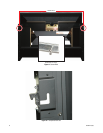
1. Stack another row of PMCD750 units on the first row. As you stack, be careful inserting the alignment pins on the second row chassis into
the alignment holes on the lower unit. Refer to Figure 3.
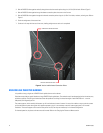
DANGER: Because the PMCD750 unit has a narrow front-to-back profile, the danger of tipping exists with high walls. For walls over two
units high and all tilted walls, use the four tie-back points (1/4-20 threaded holes) on the rear of the unit to secure the video wall to a
structural part of the building. If the wall is tilted forward, tie the wall all the way up. Do this as the wall is being built up; do not wait until
the wall is finished. Pelco does not provide any special brackets to secure the PMCD750 unit. The method to use is best determined on site
due to the many variables to consider, and must be capable of sustaining five times the weight of each PMCD750 unit; a total of
340 pounds (154 kg) per unit.
WARNING: The maximum stack height for a wall is four units.
TIE BACK POINTS