


C2928M-A (4/07) 17
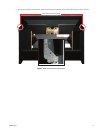
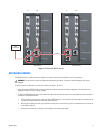
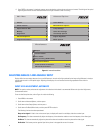
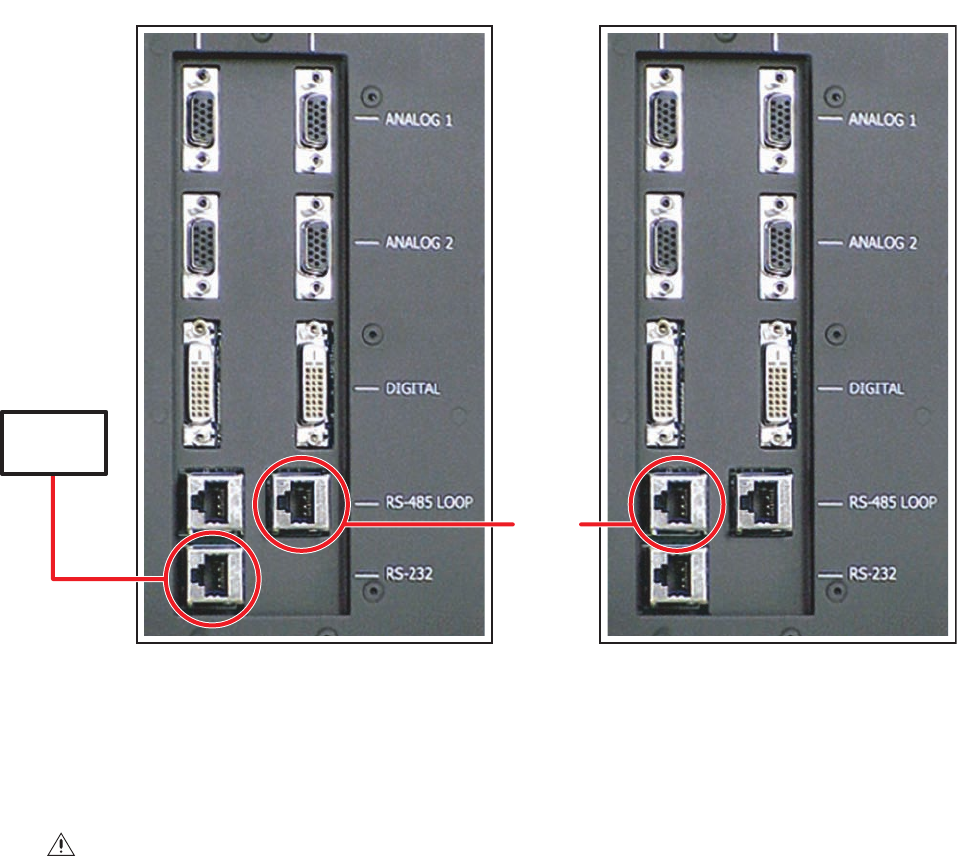
Figure 7. RS-232 and RS-485 Connections
INSTALLING SCREENS
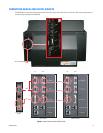
The PMCD750 screens in a wall are quite close together, so the order in which they are installed in a wall is very important.
To install a screen on a stand-alone unit, follow the instructions in steps 2a, 2b, and 2c.
1. Verify that the wall of PMCD750 units is straight and that the corners are square by measuring the diagonals of the whole wall. If the
diagonals are equal, the wall is a perfect rectangle.
2. To install the PMCD750 screens, start in the middle of the bottom row and install that screen. The screen supports should be installed on
the bottom row of PMCD750 screens.
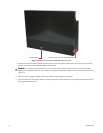
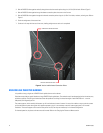
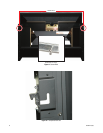
a. Pull the screen rails all the way out on both sides of the PMCD750 chassis. The screen rails each have a large pin that mates with the
L-shaped slot located on each side of the screen. Refer to Figure 8.
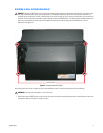
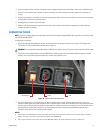
b. With one person holding each side, hang the screen so that the pins on the screen rails go into the L-shaped slots on the sides of the
screen. Refer to Figure 9.
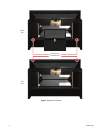
c. Slide the screen closed, lifting it slightly to avoid scraping on the screen support below.
WARNING: Do not install any screen until reading and understanding this section. If screens are installed improperly, they may be
damaged.
LOOPING
VIDEO
CONTROLLER
IN OUT IN OUT
FIRST DISPLAY SECOND DISPLAY