


Chapter 2 - Hardware Installation
2-10
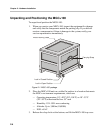
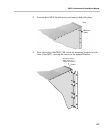
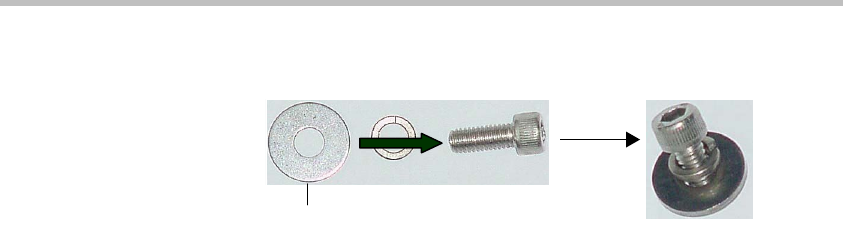
b. Fit the flat washer (Item #4) onto the screw.
c. Take the two mounting bars (Item #1) from the kit and attach them
to the MGC+100 unit with the screws (with the attached washers, as
described in step b).
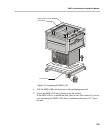
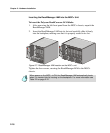
5. Carefully rotate the MGC+100 counterclockwise 90°, making sure the
Control Unit is at the bottom left.
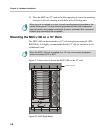
6. While supporting the MGC+100, place it on the 19” rack and screw the
brackets to the rack, securing it with the screws and nuts supplied with
the rack.
Item #4