


Chapter 2 -
2-12
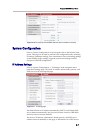
Web User Interface (UI)
Item Details
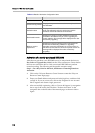
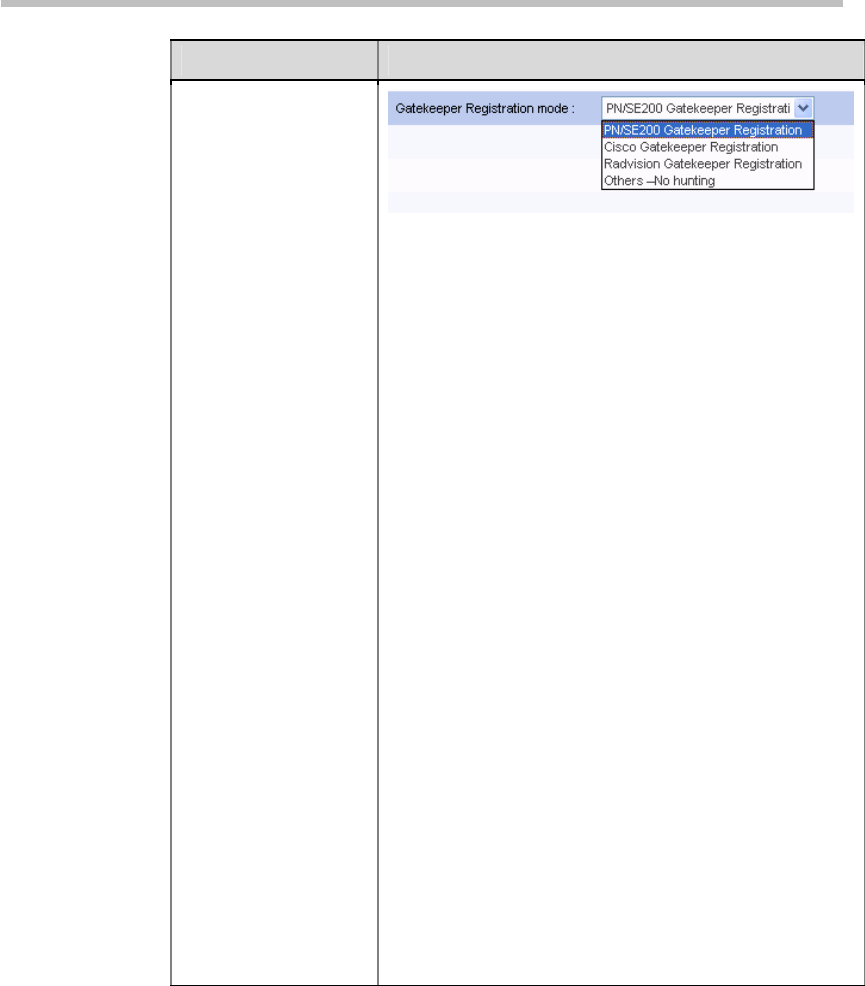
Selects the type of the gatekeeper the RSS will register to.
PN/SE200 Gatekeeper Registration
- Select this if a
PN/SE200 GK is used. When a PN/SE200 GK is used,
the RSS 2000 will determine that connection and
recording resources are fully allocated:
−
When 10 H.323 playback connections are utilized,
the RSS 2000 will send a busy message if it receives
an endpoint's playback or record request, and the
GK will transfer the endpoint's request to the next
available RSS with the same prefix.
−
When 2 single point recording sessions or 1
point-to-point recording session is underway, the
RSS 2000 will send a busy message if it receives an
endpoint's record request, and the GK will transfer
the endpoint's request to the next available RSS with
the same prefix.
−
When 1 single point recording session with two
streams is underway, the RSS 2000 will send a busy
message if it receives a dual stream record request,
and the GK will transfer the endpoint's request to the
next available RSS with the same prefix.
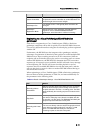
Cisco Gatekeeper Registration
- Select this if a Cisco
GK is used. When a Cisco GK is used, the RSS 2000
will only determine if connection resources are fully
allocated, and will transfer the endpoint's playback or
record request when 10 H.323 connections are fully
allocated and a busy message has been reported.
Radvision Gatekeeper Registration
- Select this if a
Radvision gatekeeper is used; the functionality is the
same as for a PN/SE200 gatekeeper.
Others- No hunting
- This mode can be used for basic
gatekeeper functionality. In this mode, the RSS2000
does not support any advanced calling functions like
forwarding or prefixes. Only simple E.164 alias dialing is
available.
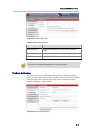
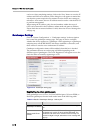
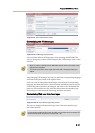
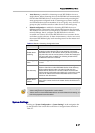
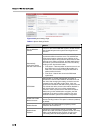
Gatekeeper
Registration Mode
After completing relevant settings, click on "Save" to perform registration.
"Registered" will be displayed if the registration is successful, otherwise "Not
registered" will be shown.
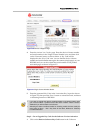
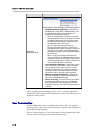
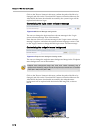
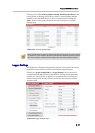
User Customization
The RSS 2000 permits users to customize the system's IVR voice messages,
Web page logos, login screen welcome message, endpoint menu background,
and endpoint menu language.
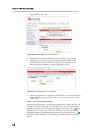
Click on "System settings-> User customization" in the navigation bar on the
left side of the screen to enter the customization interface.