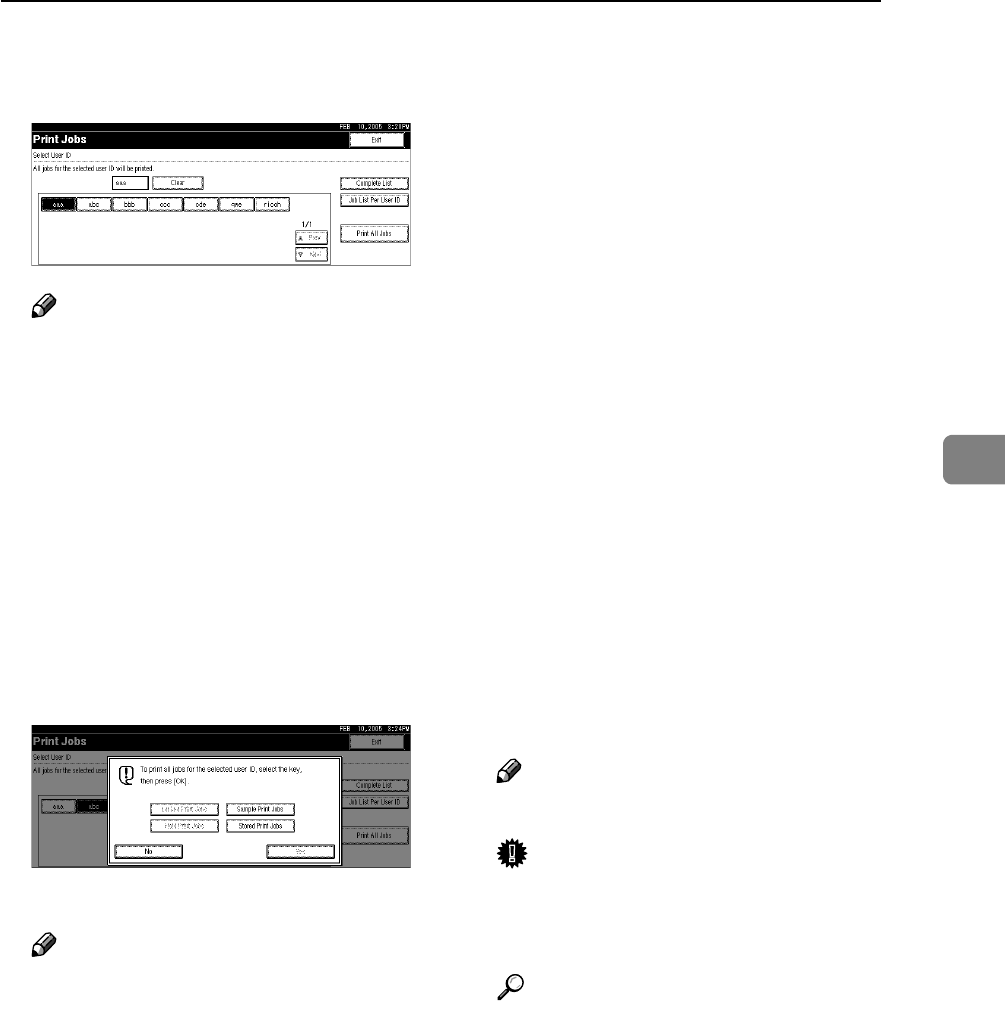
Printing from List Per User ID
99
4
B Press the user ID whose file you
want to print.
Note
❒ You cannot select multiple user
IDs at the same time.
❒ Press [UPrev.] or [TNext.] to
scroll through the list.
❒ Press [Clear] to cancel a selection.
C Press [Print All Jobs].
If the selected user ID has multiple
types of print jobs, the selection
screen of the print job type appears.
D Select the desired print job type,
and then press [Yes].
A confirmation screen appears.
Note
❒ The confirmation screen does
not appear if the selected ID has
only one type of print jobs. Pro-
ceed to step
E
.
❒ You cannot select a print job
that is not stored under the se-
lected user ID.
❒ If you select Sample Print in-
cluding multiple files without
setting a quantity, 1 page less
than the minimum number of
all settings is applied.
❒ If you select Stored Print, the
number you set on the confir-
mation screen is applied to all
files of the selected print job
type. If you do not set a quanti-
ty, the minimum number is ap-
plied to all files.
❒ If you select Locked Print, enter
the correct password. If there
are multiple passwords, the ma-
chine prints only files that corre-
spond to the entered password.
❒ If you select Stored Print files,
and some of these require a
password, the machine prints
files that correspond to the en-
tered password and files that do
not require a password. If a
password is not entered, files
that do not require a password
are printed.
E
Press [Yes].
The selected files are printed.
Note
❒ Press [No] to cancel printing.
Important
❒ After printing is completed,
Sample Print, Locked Print, and
Hold Print files are deleted.
Reference
For details about printing each
type of print job, see the follow-
ings:
• p.86 “Sample Print”
• p.89 “Locked Print”
• p.92 “Hold Print”
• p.95 “Stored Print”
